What’s Wrong With My Film?: Polaroid Film Troubleshooting 101
There is no doubt in any Polaroid-lover’s mind that shooting Polaroids is a fun experience; however, shooting Polaroids comes with it’s frustrations as well, namely the frustration of shooting a pack of film only to realize there is something wrong with it once the shots develop. We’ve all lost shots for one reason or another, and today I am here to give you a guide to troubleshooting why your Polaroid shots may not be coming out the way you’re hoping they will. Please note that all of the photos being used in this guide are my own and that my answers come from my own experiences with shooting Polaroids and research that has been done over the past 8 years that I’ve been shooting.
Problem: There is a white splotch in the corner of my film.

You can see the pressure fractal near the top left corner.
Solution: This is a “pressure fractal,” which is caused when pressure is put on the film, either when you are pulling it out of the camera or by the camera’s pick arm putting pressure on it during ejection. If you are seeing them in the upper left-hand corner every time, then this is almost certainly a pick arm issue; if you are seeing it in other areas of your photo, then you are probably putting pressure on the film while it is developing/bending the film when taking it out of your camera. It can also be the result of a manufacturing error.
Problem: There are brown/undeveloped areas on my photo.

This film was very out-of-date when I shot it, and the developer paste on the left-hand side was completely dried up, resulting in two-thirds of the image coming out brown.
Solution: This issue is caused by the developer paste not spreading over the entire surface area of the photo. This is typically the result of the film’s developer pods/paste drying out, which happens as your unused film sits — in short, your film is likely expired. You can circumvent some of this by storing your film in the refrigerator, which is recommended (especially if you buy film in bulk and don’t plan on using it immediately) because it helps your unused film to last longer.
The other, less likely issue is that your camera’s rollers are not spreading the developer paste evenly, which is an issue that would require the camera to be serviced.
Problem: The film development is uneven/there is banding in my photos.

You can see a green band over the left third of the image, which, in this case, was caused by the film being expired.
Solution: This is another film developer issue that is caused by the developer not spreading evenly across the photo. Again, the most likely cause is your film being expired or being improperly stored, though it can (but is unlikely to) be the result of a camera roller error.
Problem: There are blue/white streaks on my film/my film has a horizontal streak along the top.

One of my favorite examples of opacification failure from early on in my Polaroid journey; you can see the “lightning” streaks all over this image and where sunllight hit the top of the film as it ejected (this camera’s frog tongue doesn’t work well and needs to be replaced).
Solution: These streaks are the result of an opacification failure, wherein the the layer that protects your film from light once it is ejected from the camera doesn’t have time to mix and spread before the photo is exposed to light when you pull it out of your camera. The streak along the top is caused by light hitting the top part of the photo before it has begun to develop (which makes sense, because the top is the part that ejects from the camera first). A frog tongue is the best way to prevent this error, as it protects your photo from light when it ejects. I suggest leaving your film under the tongue for 10-15 seconds after it has ejected to prevent light from hitting it prematurely. This could also be an issue with your rollers not spreading film chemistry evenly, so make sure to keep those clean. According to some users, this could also be a batch issue; I do notice this problem less frequently with newer film than I did with film a few years ago, so there could be something to this answer as well.
Problem: My photos are coming out with a blue or orange/pink tint and are “pale.”

The greenish-blue tint in this Polaroid suggests it was developed in too cold of an environment — which is obvious, based on the (rare in Alabama) snow depicted in the image.

As always, the danger of shooting at the beach is that it’s usually hot, which causes issues. Here, you can see the orangey tint the photo has due to being developed at too high of a temperature.
Solution: A blue tint with low color saturation means they were developed in too cold of an environment, and an orange or pink tint with low saturation means that they were developed in too warm of an environment. Polaroid film does best when it is developed at temperatures between 55 and 82 degrees Fahrenheit. Also, make sure your camera itself isn’t too hot or cold, as this affects the film! The orange/pink/red tint can also happen if you run your film through x-ray scanners (say, at the airport), so make sure to ask that your film be hand-checked when traveling by air (developed photos can go through x-ray scanners safely, but your unexposed film should not). Different batches of film may also run warmer or cooler (in tint, not in temperature), so, if the saturation is good, it could simply be that the film chemistry itself has a warm or cool tint.
Problem: My photos are coming out too light/too dark.

This photo is “pale” due to overexposure.

This photo is dark due to underexposure.
Solution: This is likely an exposure error. One solution is to adjust the exposure level on your camera. If you are shooting in a bright environment, you need to turn the exposure down/turn off the flash, and if you are shooting in a dark environment, you need to turn the exposure up/turn on the flash. Your photo being overexposed could also be caused by light hitting the film too soon after ejection or by the subject being too close to the camera and becoming overexposed by the flash. Underexposure can also be caused by the camera’s light meter being faulty. What I’ve found is that each of my Polaroids works a little differently and that, once I get to know that camera’s quirks when it comes to exposure, I can compensate for them and nail exposures more frequently.
This is not an all-inclusive list of issues you may encounter, but these are some of the most common ones I’ve seen over the 8 years I’ve been shooting Polaroids. Thankfully, most of these problems are easily solved and can be put down to “user error,” and, the more experience you gain, the more likely you are to achieve consistent results. Personally, I like “flaws” in my Polaroids, so sometimes I’ll manipulate factors hoping for more “experimental” results — it’s all about what you’re looking for when you shoot.
I hope you found this guide useful and, if you have any questions, leave me a comment or contact me via the “contact” link at the top of the page. Thanks for reading!
Polaroid should make experimental film more often! And other musings
A few weeks ago, Polaroid put out a new experimental film — Reclaimed Blue. According to their website, Reclaimed Blue is a film that one of their lab scientists, Brian, accidentally created while trying to improve their existing color film formula. At the time of launch, Polaroid put out this hilarious video to introduce the film:
Polaroid’s video introduction to the Reclaimed Blue film, to which I own 0 rights — I am linking it for educational purposes only
Needless to say, I think Brian is a pretty cool guy, and I was immediately taken with this film and the story behind it. Upon its release, I ordered several boxes, and while I was on vacation last week, I shot a pack on my Polaroid 660AF.
My first impression is that it is quite different from their duochrome film, which is a comparison one might be tempted to draw upon first look. I find that it is closer to their black-and-white film in how it handles various tones (which makes sense because part of the film’s chemical makeup is the TBHQ chemical from their black-and-white film). It worked best for me when underexposed, as does their black-and-white film; that method gave me the most detail and the most contrast. This will likely vary from camera to camera and from photographer to photographer, depending on personal preference — I myself prefer the darker, contrast-ier look, and underexposing is how I achieved it. It developed in 10-15 minutes, which is also like their black-and-white film, so you will see the results of your experiment fairly quickly. As their website says, it’s not monochrome, it’s not duochrome, and they didn’t add blue dye to the chemistry — this film just happened, and it isn’t all that definable, and that’s what makes it great.
Here are a couple of images from my trip (to see the rest, follow me at kelseycollierphotography on Instagram, or click the Polaroid III gallery link at the top of this page):
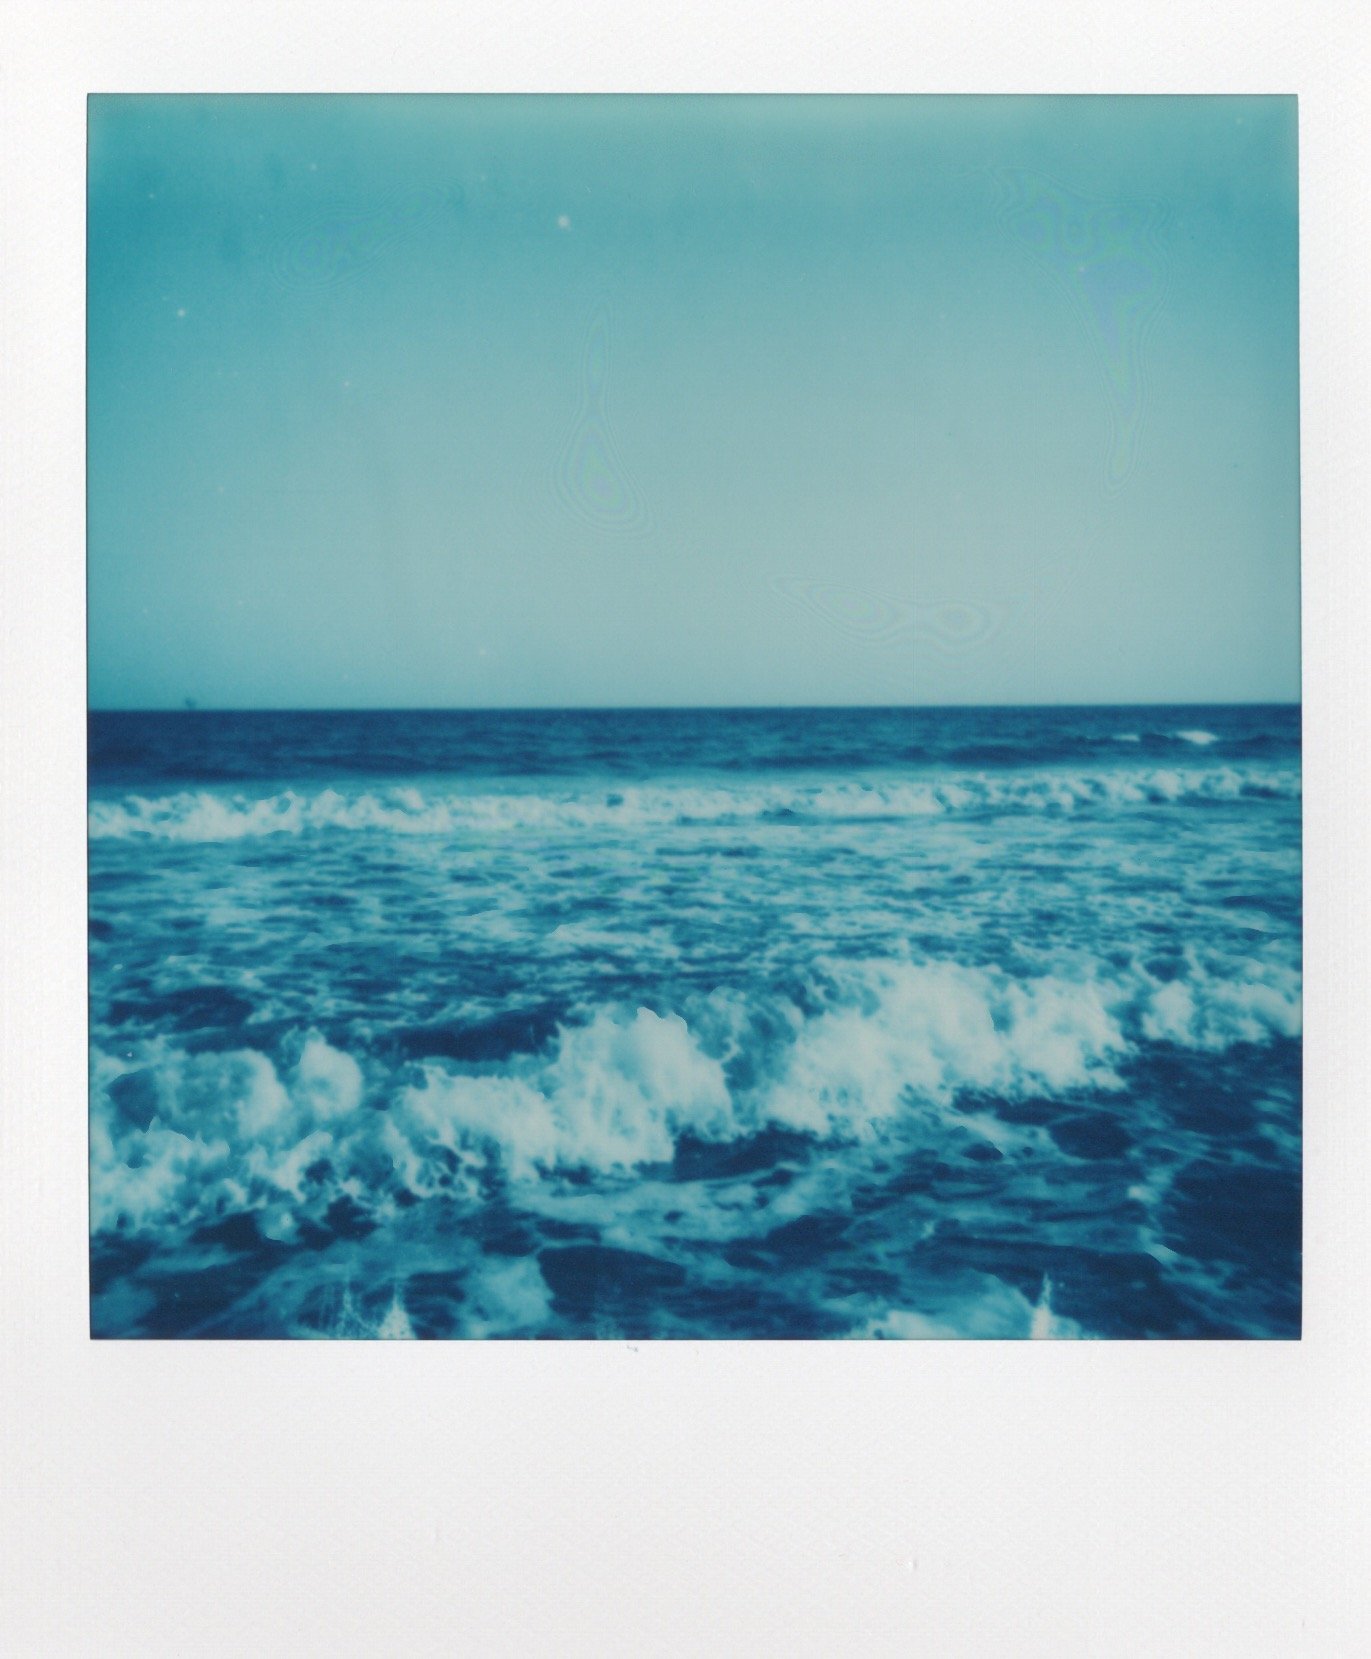
Taken at Dauphin Island, AL

Taken at Dauphin Island, AL
I had a lot of fun playing with this film, and I am super excited to shoot my other boxes and see what I can create, especially as the weather warms up (we all know Polaroids react differently in different circumstances!).
I hope Polaroid continues to make more experimental film, and I hope they consider bringing back some of the older duochromes and maybe adding colors to the range. The first ones I shot were red, orange, yellow (which all came in a package together back in the Impossible Project days), and pink; I think it would be cool to see them bring those colors back. Last fall, they made a limited green duochrome, and I’d be interested to see what other colors we could get in the future (purple, anyone!?).
Another hope for the future is that they bring back some of the cool frame editions for the 600 cameras. I know this is a stretch because they’re trying to upsell their i-Types and have largely transitioned away from creating new frames for the 600s, which I totally get. But, a photographer can dream, can’t they?
As always, I hope you all enjoyed this post, and I will see you all next time! I have a new-old camera on the way that I can’t wait to share with you all and several rolls of film that are about to be dropped off at a new film lab in town, so stay tuned for posts about those over the next couple of weeks!
It feels great to be back!
—Kelsey
Celebrating 3 Years of Kelsey Collier Photography & Rekindling My Relationship with Creativity
First, I can’t believe I’ve gone this long without an update.
Second, I can’t believe it’s been THREE YEARS (and 8 days — missed my own anniversary, yikes) since I launched this website! I am so excited to be back on this site, and I am also excited to be excited to make art again.
The last time I caught up with you all, I was a month into my graduate school journey for my M.Ed.; for a quick update on that, I have changed my degree from an M.Ed. in Elementary Education to an M.Ed. in 6-12 English Language Arts, and I will resume classes in March. As a follow-up, I will no longer be making posts on this website pertaining to my personal life. While I am sure it will creep into some blog posts as an aside, I do not want to make entire posts dedicated to catching everyone up on what is going on outside of my art, as that is not the focus of this site or this blog.
An update I DO want to give is that, in addition to continuing with my Polaroid, film, and digital photography, I will be sharing more of my alternative photography and non-photograph art with you all this year. Over the past two years, I have gotten into doing denim painting as a form of art, and I also want to dip my toes back into doing cyanotypes, drawings, and other types of art that I have not done since college and sincerely miss doing. I have also taken to/rekindled my relationship with a variety of musical instruments — such as the clarinet, guitar, ukulele, and keyboard — over the past year, and I would like to integrate those into this website as another form of artistic expression, as music has always been something that I am passionate about and that drives me to create.

Hand-painted-by-me jeans that I wore to an art show last summer
I am excited about this possibilities this new year brings, and I can’t wait to bring you all with me on this journey. As always, if you have any suggestions for things you would like to see, let me know and I’ll try to make it happen.
Until next time,
— Kelsey
Twenty-Twenty TWO YEARS of Kelsey Collier Photography & Where I've Been
First: Happy New Year, everyone! I hope you all are having a lovely New Year so far!
Second: My website is officially two years old! I had planned on getting a post up on New Year’s Day, since that is the official anniversary of my site launch, but I’ve been so busy with both my day-job and my personal life that I have not had a chance to sit down and write anything until now. It’s crazy to me that two years ago I was sitting in this same spot at my desk, nervous and excited to launch this website, yet here it is, exactly as I’d imagined it to be. I’m excited for a new year of blog posts and photographic exploration, and for another year of getting to share it all with you!
Third: Where have I been?
If you’ve been around a long time, you know that I have been saying for the past 3-and-a-half years that I want to go to graduate school, and that I applied to a few programs and even got into one two years ago. For various reasons which I am now grateful for, that did not work out, but, this past fall, I decided I wanted to try again. So, I have spent the past 8 weeks or so applying to graduate programs with the hope that I’ll get to accomplish my long-time goal going back to school and completing my MFA.
This, along with my full-time job, have taken up a ton of my time, so I have not been as active on this site as I would like to have been, but I am hoping to get back in the swing of things as soon as I have the last couple of applications in. I appreciate you all sticking with me during this time!
As always, if there is a particular topic you wish for me to discuss, leave a comment down below, or feel free to contact me through the “contact” link above. Also feel free to follow me on Instagram, @kelseycollierphotography, as I’m currently slightly more active there.
Thanks, and I’ll talk you all again in a few weeks!
— Kelsey
Polaroid Week 2021: What Makes Polaroids So Fun, Anyway?

I love Polaroids.
Not a shocking statement if you’ve spent even 5 minutes around me or browsed this site or my Instagram, but it is a statement I like to make as often as possible.
But, why do I love Polaroids so much? What makes Polaroids so fun, anyway?
For me, what makes them great is the physicality of them. Up until the recent resurgence in popularity of Polaroid and Instax prints, no one was really printing images anymore; everything had moved to digital platforms, like computers and cell phones, and the feeling of holding images in one’s hands was largely bygone. Currently, there is a shift toward printing again, and a lot of this has to do, again, with the popularity of Instax and Polaroid cameras that has taken place due to the nostalgia of the late 90’s/early 2000’s taking over popular culture. Polaroid is making new cameras that combine the basic controls of older cameras with smartphone apps that give the user even greater control of their image creation, while continuing to restore and stock vintage cameras and the film to go with them; Fujifilm makes Instax cameras that range from very basic to quite advanced, much in the same way Polaroid does, and these two companies combined have seemingly recaptured the public’s love for instant film and physical images.
Okay, that’s all well and good, but that doesn’t quite answer the question — what makes them fun?
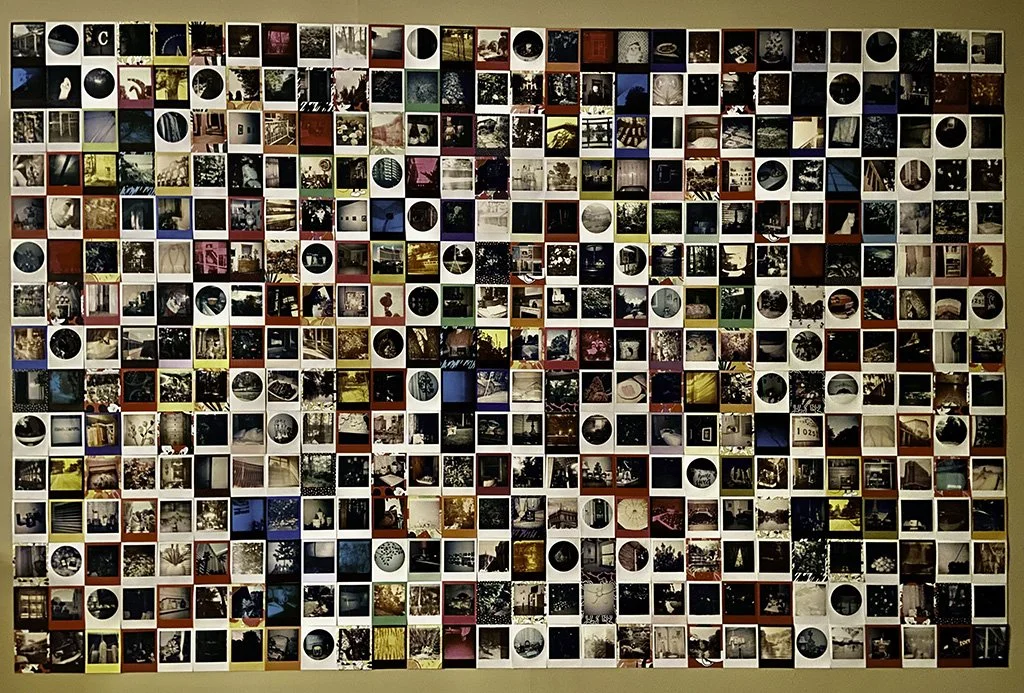
For me, what makes them so fun is the seemingly endless ways I can create using such simple cameras. I have two vintage 600-type cameras, and neither uses advanced controls of any kind; there is a slider you move to the left when it is dark, or to the right when it is bright, and two trigger buttons — one to fire the flash, and one to take a photo sans flash. This is a stark contrast to the full-manual modes I shoot with on my Nikons, and, somehow, the simpler controls give me a greater creative edge, because I can’t rely simply on the camera to do all the work. Suddenly, composition becomes much more important, and imperfection becomes the usual and preferred aesthetic. Also fun for me is the fact that I can take each individual image and put them together to tell a greater story about my life than a singular images ever could — the power of collage is not to be underestimated with such small, seemingly mundane images.
The cool thing about modern Polaroid images is that Polaroid themselves make so many different types of film; you can opt for the classic white frame and color image, of course, but you can also branch out and explore black-and-white options, or make images surrounded by colorful or patterned frames. This, for me, makes them even more enjoyable to shoot, especially as you never know what order your colored or patterned frames will come out in as you are shooting. The experimental nature of the Polaroid combined with a small element of the unknown makes for infinite possibilities and infinite amounts of creative joy, in my opinion, anyway.
Lastly, what makes them so fun is sharing the images with friends, family, and the vibrant community of Polaroid photographers around the world. I have connected with hundreds of Polaroid photographers over the four years I have been shooting them, and have even gotten friends interested in shooting them for themselves. That, to me, is the best part of the whole experience — the community. It is amazing to talk to so many people who, like me, enjoy telling stories with square images that pop out of a camera and develop in 10-15 minutes.
After all, what is the point of making art if you never share it with anyone?
I shoot on a lot of different 35mm cameras, but, if I could choose only one camera to shoot on forever, I would pick my Polaroid 600AF over them all. I never have to worry about getting them developed, I can hold them and show them off to everyone a mere 15 minutes after I’ve shot them, and I have the ability to create in endless ways with a multitude of film colors and frames. There is nothing more fun in the world to me than that.
Is Shooting Film Getting Too Expensive? (Yes)
Shooting film has always been a little pricey, especially if you shoot a lot of it.
Now, though, it is getting downright unaffordable.
Earlier today, as I was placing a $100 order to get 3 rolls of film developed (yes, you read that correctly — $100 for 3 rolls, and only one had special instructions), I got to thinking about the cost of film photography in general and how, if film prices were what they are now when I was in college, I wouldn’t have been able to afford to shoot film the way I did — hell, I can barely afford it now.
For reference, back in 2017, I was paying $5.09 for one 24-exposure roll of Ilford Delta 400 on B&H’s website (yes, I pulled up some old order receipts to check); today, a 24-exposure roll of Ilford Delta 400 goes for $8.12 — $3.03 more. A 36-exposure roll of Ilford Delta 3200 back then cost $8.95 — now it costs $4.00 more at $12.95 per 36-exposure roll. A 36-exposure roll of Kodak T-Max cost $4.95 back in 2017, and, today, that same 36-exposure roll costs $9.19 — a $4.24 difference — nearly double! In only four years!
I understand that inflation is a thing, and I also understand that the pandemic that has been raging on for nearly two years now is also a thing, and that both are driving the prices of everything up (have you seen the prices of used cars lately!? Yikes). However, it does not change the fact that the cost of film, combined with the cost of development and scanning, if you don’t have the ability to do those things yourself (it still isn’t cheap even if you do), is becoming cost-prohibitive — and, though I haven’t asked around too much, I doubt I’m the only person who feels this way.
The good news in all of this is that the prices of used cameras seem to be coming down a little; when I was looking around at used Nikon film cameras a couple of months ago, I was shocked to see that most of them were going for at least double what they were worth. Looking at them today, however, the prices seem to be a little more in-line with what they should be, at least on eBay. The other good news is that, if you are a Polaroid shooter, Polaroid film is no more expensive now than it was pre-pandemic — an 8-exposure box of 600 film costs $19.99,, which is actually less than it cost back in 2016 — I was paying anywhere from $20.99 a box to $24.99 a box at that time, depending on the stock. I sure do feel lucky in that respect.
This is not one of my better blog posts, I know, but I wanted to throw this one out there because it has been on my mind lately and, again, I am certain I am not the only film photographer who is feeling this way.
Let me know your thoughts, and, as always, if you have any suggestions about future blog topics, feel free to share them, as I am (clearly) in a bit of a rut writing-wise!
Thanks for reading!
Art Degrees are Real Degrees.
Growing up, my least favorite thing to hear as a “creative type” was that art wasn’t as important as other subjects and, when I became an art major in college, that art “isn’t a career” and that an art degree is “not a real degree.”
In college, I would often hear other students say they were taking art classes “just for an art credit” and that they actually thought it was "bullshit” that they had to take the course at all because, of course, they thought that art classes weren’t as important as whatever subject they were majoring in, and some went so far as to think that art majors were lazy people looking to get an easy degree.
I hate hearing all of this even more now that I have had a BFA in Studio Art for 3 years.
I will be the first to admit that, before I started majoring in art, I thought the only way to be successful was to get a business degree, or a science degree, or a degree in ANYTHING except the arts; I thought this because everyone in my life was ALWAYS feeding me this lie. I had always been drawn to more creative things, like making music and writing and taking photos, and I think a lot of people saw this and thought they were doing me a favor by saying “those are just hobbies; you need to work hard to get a REAL degree so you can get a REAL job making REAL money.” They thought that, by telling me that degrees in the arts weren’t “real,” it would make me want to choose something more “real,” like business.
Which is what I did, until I learned that I liked photography and art history more than finance and macroeconomics.
There is a common misconception floating around out there that art degrees are all about teaching you how to draw, paint, sculpt, or take pretty pictures without teaching any useable life skills. However, I am here to tell you that this a fallacy.
One of my best friends from college, Sam, double-majored in biology and studio art, and, when I asked him how he felt about arts majors versus other majors, he told me:
“While earning a BFA in studio art and BS in biology, I personally found the art to be significantly more work than the biology, but that says more about me than about the programs. I had friends in each program that struggled to pass the introductory classes from the other program for general education requirements. So I can't take the idea that one degree is harder than the other seriously. Difficulty varies from person to person, for any task. Some might argue that it's utility, not difficulty, that makes one degree more valid than another. And I can see how the utility of biology would be more obvious, but I'd challenge anyone who doubts the importance of artists to imagine going a month without using or looking at anything designed by an artist. It's probably not something you could realistically do, but it would be a bleak experience.”
Earning my BFA taught me how to give and take criticism, how to communicate my ideas and express my views in an effective way, how to collaborate, and how to stand up for myself and my beliefs; it taught me how to view the world around me with kinder eyes and an open heart, how to enjoy the little things around me, how to care for and listen to others, how to have fun, and, most importantly, how to unashamedly be myself in a world that often encourages us to fit one particular idea of what it means to be a person.
All this to say — stop telling people art degrees are not real degrees. Stop telling your artistically-inclined kids not to get degrees in art, theatre, and music because they are “useless” and will make them “poor” the rest of their lives. There are so many cool things out there you can do with degrees in the arts (in fact, here are 38 of them); I am not saying you won’t have to work hard to get these careers, but I am saying that your degree will not be a hindrance unless you make it one.
As Sam pointed out, it is impossible to conceive a world without art — even our early Paleolithic ancestors painted in caves and made jewelry during their free time. So, next time you go to tell someone that “art is not a real degree,” think about the fact that little in this world would exist without the creative mind of an artist.
Just Something to Think About: It's Okay to Be Bored
It’s been a long time since I’ve written anything for this blog.
Admittedly, I’ve been busy with other things, such as being promoted at my day-job and working on some film photography, but I’ve also been feeling uninspired and downright bored.
And that’s okay.
When I was in college, my photography professor told our class that we all need to be bored sometimes, because that’s when our best ideas come out of us. I have since learned that boredom and frustration are what drive me to be creative. If I were never bored, I would never work on anything.
In today’s world, with all its technology and gadgets and gizmos, we’re always looking for something with which to fill our time, and never give ourselves time to sit, think, and enjoy the space we’re in. We sit and mindlessly scroll through Facebook and Instagram, click through stories on Snapchat, play games on our phones, etc., instead of just letting ourselves be bored for a few minutes.
Sometimes, we need to be bored. Being bored often leads us to finding creative solutions for our boredom and for other problems in our lives. Daydreaming is frowned upon in modern society, but, if not for daydreaming, we wouldn’t have any of the technology we use to keep our boredom at bay, would we?
Just something to think about.
The Holga Lens Experiment
Anyone who knows my work well knows I love toy cameras, in particular my 35mm, purple, glow-in-the-dark Holga. This camera, along with my Polaroid 660, aided in the creation of a majority of my senior work, including my entire BFA show, and, even though I have not used it since then, it still holds a special place in my heart and a special place on my toy camera display shelf. A couple weeks ago, while looking for a new SD card to replace on of mine that had failed, I saw that the Holga HL-N lens was on sale on B&H’s website for $12. I have been eyeing this lens for a while, and figured that now was the time to finally buy it and give it a test.
First, let’s talk briefly about the lens itself:
It’s plastic.

Yep… plastic
In fact, the only part of the lens that is not plastic are the two microscopically-thin metal sheets inside the lens that produce the vignette you see on Holga images. This lens is basically a glorified air-hockey puck, and it weighs about as much as one, too. It advertises itself as being a 60mm f/8 lens, as is the Holga standard, but I would argue that the depth-of-field on this camera is more in the f/18-25 range (this varies from lens-to-lens, because, well, it’s plastic, and no two lenses are going to be exactly the same — it comes with the territory). I would argue that this helps the lens more than it hurts it, though, because it is near-impossible to get anything in focus with the lens as is — I can’t imagine how blurry everything would be if the aperture was actually f/8. It also has a focal range of “single person” person (so, up-close) to “mountains” (so, far away), but I find that this “range” means little to nothing, as setting a different focal length does not make the image more/less “in-focus,” and is hardly worth taking the time to talk about. I set mine to “single person” and left it there.

Meaningless ranges are meaningless
Another thing about this lens is that, due to the high/slow aperture, you have to keep your ISO speeds pretty high and your shutter speeds pretty low to compensate for the lower amount of light being let in. I did find that, in bright light, I could get away with an ISO of 400 and a shutter speed of 1/80, but, in most cases, I was shooting upwards of ISO 1250 with a shutter speed of 1/60, and in some cases I had to go up to ISO 1600 or down to a shutter speed of 1/50 (which is the lowest shutter speed I can shoot at without needing to bring in a tripod for stabilization).
The last I want to say here is that it is extremely difficult to see what you are doing through the viewfinder. The view through the viewfinder is dark, and, much like with a Holga film camera, you are forced to guess at what you are doing. The element of surprise is not lost with this lens, in spite of the camera being digital instead of film, and I can get on board with this. It makes using it that much more fun, especially for those of us who already have experience with toy cameras.
Now that we’ve talked about the lens, here are some of the images I shot:

Behind the Mask

Flight
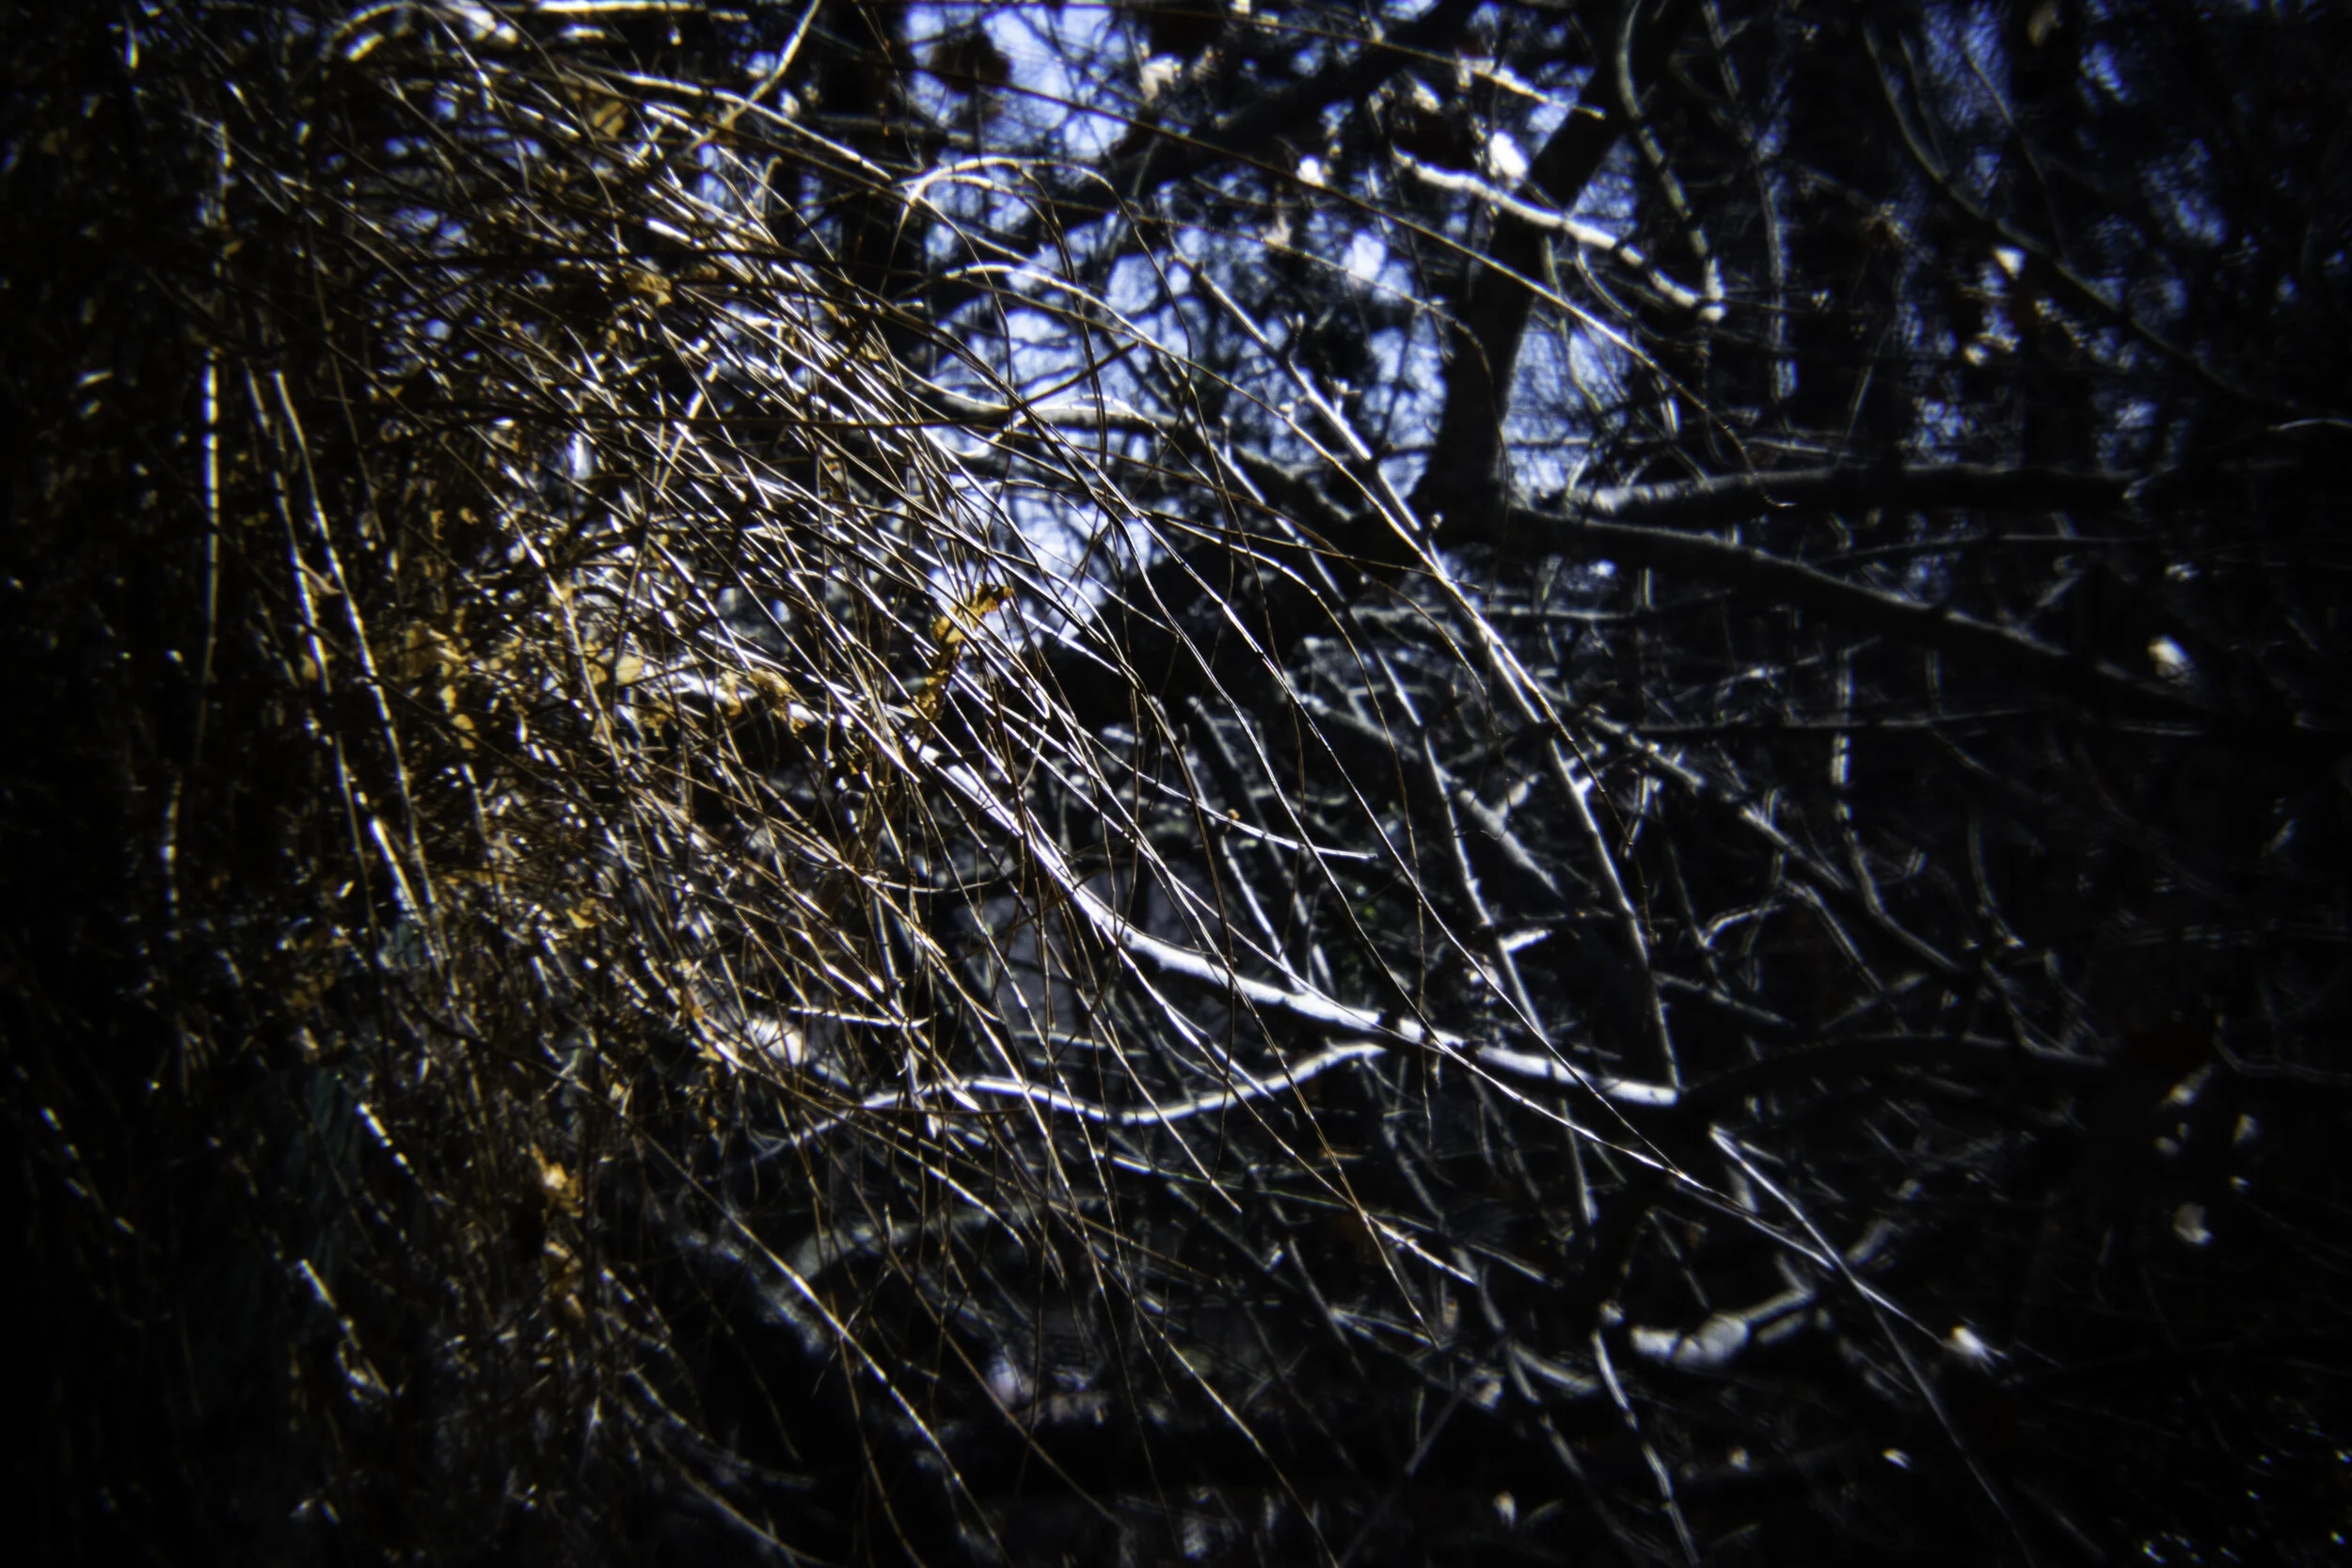
Winter Winds
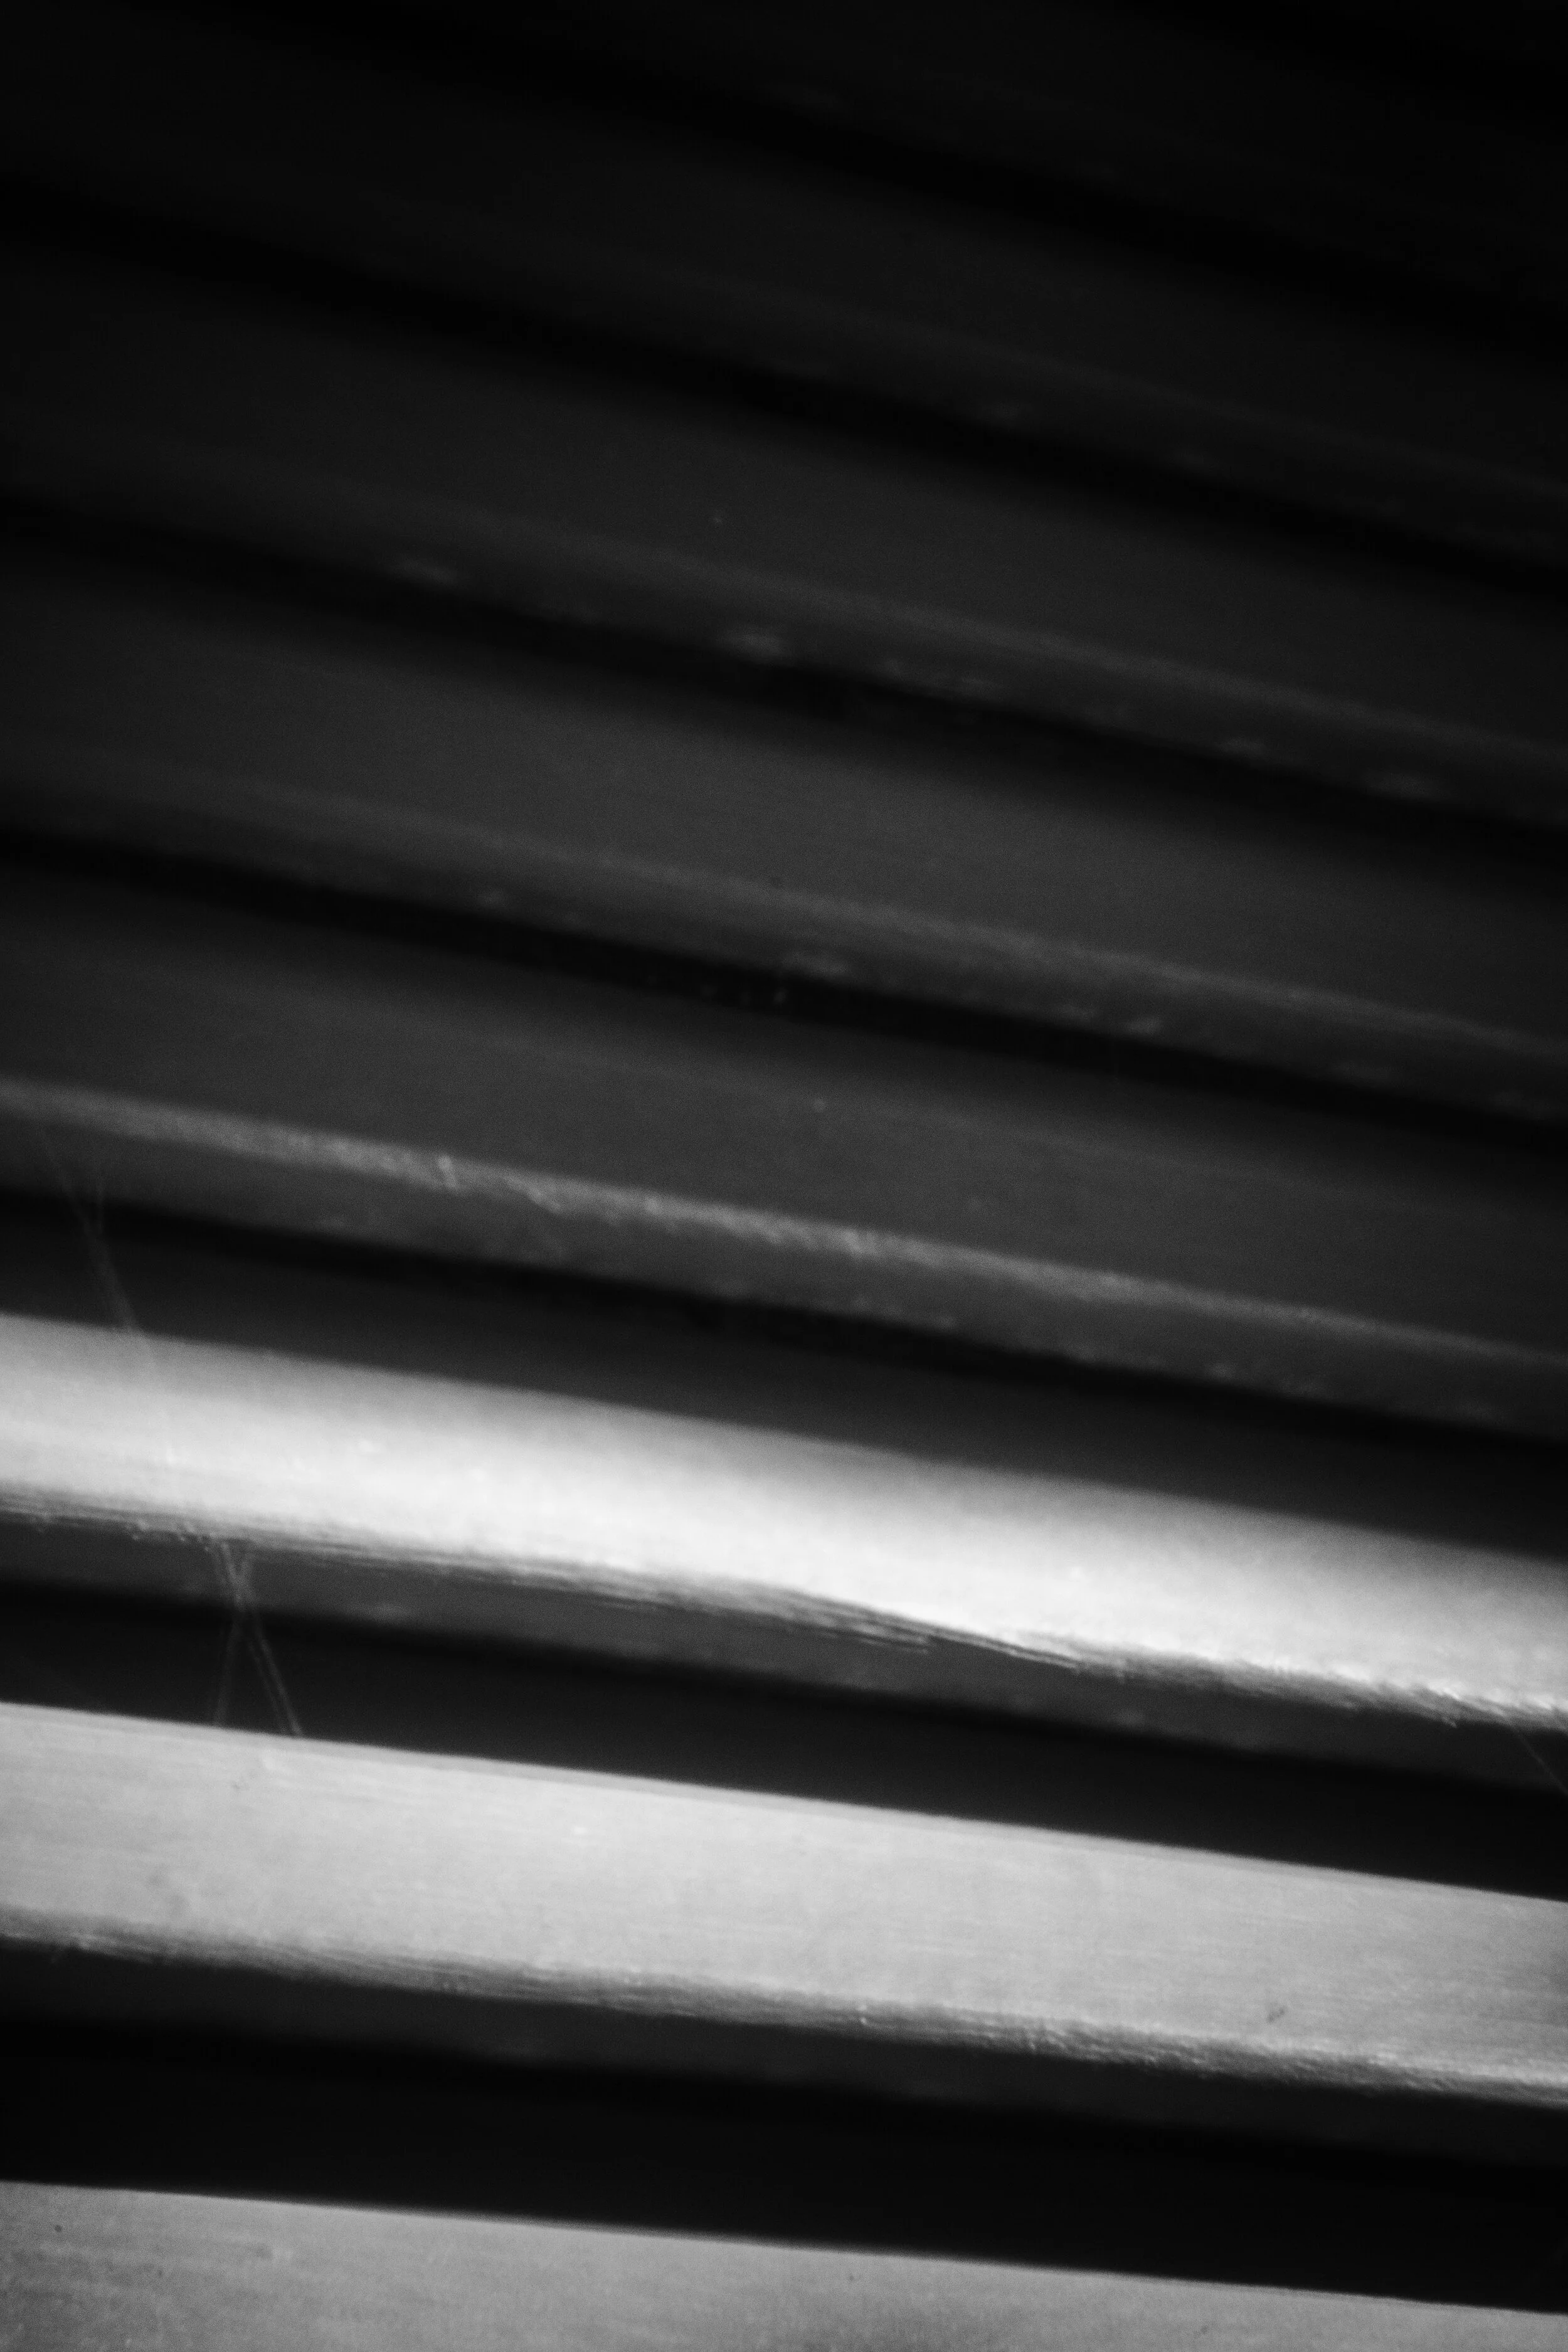
Shut-Out

Nineteen-Seventy-Nine
Finally, here are my thoughts on the Holga HL-N (HL-C if you are a Canon user) lens:
The experience of shooting with this lens is not too different from the experience of shooting with an actual Holga camera; it performs poorly in low-light situations, you have to use a high ISO speed and keep the shutter speed around 1/60, and you still have to do a bit of post-development finagling to get your images to turn out the way you want them to. This is not a bad thing. It is, in fact, the reason I love toy cameras in the first place — you never know what you’re going to get until you’ve finished.
What surprised me most when I sat down to edit these photos is just how similar to my old film images they look. Sure, it isn’t exactly the same, but the fact that it is even similar is pretty crazy to me.
Must be something about the plastic, y’know?
…
Anyway, all-in-all, I absolutely adore this quirky little lens. For $12, this lens is worth picking up and playing with. In my case, it has earned a place in my regular lens rotation, for when I want to have that much more fun with my work. If you are interested in purchasing this lens, here is the link to the Nikon-compatible version, and here is the link to the Canon-compatible version.
As always, thank you so much for reading, and, if you have any questions or suggestions for future blog posts, don’t hesitate to reach out by commenting or by emailing me via the “contact” link at the top of the page.
Talk to you again soon!
The Beginning of the End of Entry-Level DSLRs and the Transition to Mirrorless

A few days ago, I opened up Google Chrome on my phone, and I was met with this suggested article: The Death of the Entry-Level DSLR is Upon Us: Nikon Calls Time on the D3500 and D5600.
I was stunned.
There is a huge market out there for entry-level DSLRs, from students buying them for their first photography class to parents buying them to take better pictures of their kids at ball games and other functions than cell phone or point-and-shoot cameras can provide, and, while Nikon is not yet discontinuing the sale of these cameras in the U.S. and other markets outside of Japan, it is clear that, eventually, they will be phased out. It is also clear that, once they are phased out, they will not be replaced.
For the past three years, Nikon has shifted their focus to the mirrorless market, and they are set to continue to do so as they are facing a huge $720M loss this financial year. Mirrorless cameras are seeing a surge in popularity as more companies are adding mirrorless cameras to their lineups, an, from this standpoint, I can see why Nikon would want to focus on them; their Z-series is popular with the market, and they have to do what is profitable (and, to be fair, they say this measure is only “temporary” while they recoup their losses — we shall see).. I have seen theories floating around within the community that Nikon will eventually create an entry-level mirrorless system to add to their lineup, and while I think this is a much-needed addition (the lowest-end mirrorless system Nikon offers starts at $860 US, which is $250 more than the advanced-entry D5600 and $350 more than the entry-level D3500), it still does not, in my mind, replace the need for entry-level DSLRs.*
*Here is a link to an article describing the difference between DSLRs and mirrorless cameras. I did not want to move on before I described the terminology being used, and, well, someone has already done that for me, so there you go.
As I mentioned previously, the market for entry-level DSLRs is that of amateurs — people wanting cameras to take photos of their kids, people picking up photography as a hobby, people wanting to learn photography, and students (this is not an exhaustive list, but you get the idea). Most of these people cannot afford to jump in and spend a small fortune on a camera and a few lenses, and thus will go with an entry-level crop-sensor camera to fulfill their needs (in the world of Nikon, these crop-sensor models are their DX models). Nikon will continue to make their other, more expensive crop-sensor cameras (the popular D7500 starts at $1000 US, while their flagship DX model, the D500, starts at $1500 US), but these are not “budget” models, and this means people will have to look to other camera companies, such as Canon, to get what they want.
As a student, I went with Nikon because a) I had a Nikon point-and-shoot camera I loved (still have it, still love it 8 years later) and b) when I was doing my research, I found that Nikon put better glass in their lenses than Canon, plus I liked Nikon’s color-grading straight out of the camera more than I liked Canon’s (Nikon leans more green, Canon leans more blue — I will make a separate guide to choosing a digital camera later on, which will cover this in detail). I also loved that Nikon’s lenses were backward-compatible, which meant I could put a lens from the 1950’s on my mid-2010’s camera and it would still work, albeit without modern features such as autofocus and vibration reduction; this is huge, as you cannot do this with a Canon, since they changed their lens mount when switching from film to digital, and, since I also shoot film on a Nikon F5, it means a lot to me that I can use any of my lenses on either of my cameras and they will work without the need for a mount adapter. I am so passionate about this that, if someone asks me what I recommend as far as digital cameras are concerned, I always tell them to go with a Nikon from the D3000 or D5000 lines, and I lay out for them all of the reasons I just laid out for you, especially if I know they are taking a photography class that also has a film component and they are planning on picking up their own film camera as well. However, this will be more difficult, if not impossible to do once Nikon ends the sale of these entry-level cameras, because none of the people who have asked me this question thus far have $1000, or even $860, to drop on a camera.
Another reason this is particularly disadvantageous to students is because most photography classes teach the art of photography using traditional DSLRs, as mirrorless systems are too new to be mainstream enough to be taught on. Until there are better, less expensive mirrorless options out there, I don’t see the transition to mirrorless happening in the classroom any time soon.
This is not me saying that mirrorless cameras are bad; in fact, I fully intend on upgrading to a full-frame mirrorless system sometime in the future, as I believe these cameras are perfect for the kind of photography I am into. However, if Nikon is successful in this venture, this could lead the way for other companies, like Canon, to do away with their entry-level cameras, in much the same way Apple has taught other cell phone companies that they can do away with features, such as headphone jacks, on their phones, or computer companies that they can do away with ports on their laptops and force everyone to use dongles for every basic need (bitter, much? You know it’s all true). The other issue I see here is that, often times, the brand a photographer learns on is the brand the photographer sticks with, and the discontinuation of these entry-level DSLRs will lead to those who would have bought these cameras to another brand that does have entry-level models, thus shutting out an entire group of people who, over time, would have continued to grow their Nikon collection, which, in turn, would have created future profit for the company. Just a little food for thought.
For now, we will have to wait and see. It will likely be another couple of years before Nikon pulls the D3500 and D5600 off of the market completely, and hopefully by that time we will see an entry-level mirrorless system or two taking their place.
I know this is not one of my better or more exciting posts, but I wanted to put my opinion on the matter out there, as getting people into photography is a huge passion of mine, and limiting people’s options for getting into photography is not. I promise I will be back on a fun topic next week, but, for now, let me know how you feel about this weird transitional period Nikon is in.
See you next Friday!

Cell Phone Photography: One Week, 5 Images, a Whole Lot of Thoughts
I am something of a snob when it comes to the tools I use to make a photograph. As in, I have never believed in making artistic photographs with my cell phone camera. Sure, it’s always there, in my pocket or my bag or in my hand, and sure I use it for selfies or to take quick snaps for Facebook or Snapchat, but I do not truly regard these as works of art. For art, I use my Polaroid cameras or my Nikon or any other camera except the one in my phone. Even when I was purchasing my iPhone last April, I scoffed (in my head) at the salespeople trying to get me to buy a phone based on its picture-taking capabilities because, duh, I’m a photographer — I have cameras to take photos with.
This week, however, I decided to experiment with using my run-of-the-mill iPhone 11 to create photographs that fit into my artistic catalogue. Before starting, I set up a couple of parameters: first, I confined my photo-taking to my bedroom; second, I forced myself to use only the basic editing software that comes with the Camera app. I felt that these two limitations would make the experience more challenging, since my bedroom is an area I am extremely familiar with and, therefore, less excited by, and because I have access to the mobile app versions of Lightroom and Photoshop (arguably better mobile editing software) via my Adobe Creative Cloud subscription. I also decided after shooting the first photo that I would keep everything black-and-white, because color can be distracting, and I wanted the viewer to focus on compositional elements (shapes, lines, etc) instead of the color of the images. Plus, I just like black-and-white photography, alright?
With all of this said, let’s take a look at this week’s photos:

Day 1: Midnight

Day 2: Feast

Day 3: Ground-Level

Day 4: Circles

Day 5: Do You Even Read?
Here is what I enjoyed about using my phone camera:
It was convenient. This is an obvious perk. My phone is usually near wherever I am, it is lightweight, it does not require an SD card or a battery, and there is no pesky lens cap for me to keep up with. It was also convenient being able to do basic editing right in the Camera app instead of having to upload the photographs to Lightroom, export them to Photoshop… you know, that whole process. It was quick, easy, and simple — enough said.
I could shoot a variety of angles with ease. One thing about a traditional camera is that they are definitely bulky, which means it can be difficult to shoot certain angles. For example, I would not have been able to get that exact photograph of my hairdryer on the floor with my Nikon or Polaroid cameras, because there would have been no way to get the lenses to go that low to the ground, but with my phone, all it took was sitting on the floor and aligning my phone’s lens into the right position, and I had the shot I wanted. Again, it was convenient, but, more than that, it unlocked a creative option I otherwise would not have had with any of my other cameras.
I could get close-up to my subjects… without a close-up lens! With a dSLR, I would have needed a micro lens to get some of these shots (such as the shot of my snack), but with my cell phone, I could get within a few centimeters of my subject — and keep the subject in focus — without hassle. Again, it was convenient, and again, it opened up a creative option I do not currently have with my SLR setups.
Okay, you get it — what I enjoyed more than anything about using my phone to make photographs was the convenience of it.
Here is what I did not enjoy:
The lack of depth-of-field options. I know that some phones to come equipped with depth-of-field options and that this statement does not apply to every phone, but my iPhone 11 does not come equipped with such options, and this, I found, to be a hindrance. Depth-of-field, otherwise known to a layperson as having certain things in focus and the rest blurred, is important to me in terms of digital photography, and I missed it here. For example, in the photo of my hairdryer, the background is distracting because it is not blurred out enough that you cannot clearly make out that there is blocky furniture back there. Annoying.
Editing. Editing on iOS is, in my opinion, clunky and I straight-up did not enjoy the experience of having to sides-croll endlessly to do a couple of simple edits. Again, annoying.
It was convenient. “But, wait!” I hear you say, “You just said you enjoyed the convenience more than anything! Now you’re saying you didn’t enjoy it? Which is it!? Did you, or didn’t you!?”
Okay, here’s the deal: while I did absolutely love the convenience of being able to pull out my phone and do basically everything I would do with my dSLR but on the phone itself, I feel that this convenience is a little too convenient. Yes, some of the convenience of having a more lightweight system that could fit into places my usual cameras could not also meant I had more avenues for creativity; this is, to me, the bright side. The dark side, however, is that, because of this convenience, I wound up taking a lot of really crappy shots because I wasn’t thinking about what I was shooting, I was just shooting random things because it was easy to.
This is my gripe with using only a cell phone as one’s photo-taking device: it is so easy to snap, snap, snap without thinking about what you are taking snaps of. In fact, to me, there is a difference between taking a photograph and making a photograph; taking a photograph is a less deliberate action than making one. When I am out shooting with my dSLR, I feel that I have to make more conscious decisions about what I am doing, because it takes more time to get to the point of pressing the shutter button. I have to take the time to look through the viewfinder, focus the lens, move into just the right position — it becomes an intimate act rather than a passive one. With my Polaroids and Instax photographs, I spend time working out the composition and deciding if the shot is really worth it, because, let’s be honest, the film for those cameras is expensive. With my cell phone, I found that my process and my way of thinking was completely different; with my dSLR I will take a series of photographs, upload them to Lightroom, and let them sit for a day or two before I sit down to look at and edit them. With my cell phone, it was all too easy for me to snap, delete, snap, delete, edit right then and there, and not think about the photos again. The intimacy is lost, and, ultimately, I wind up not caring as much — or even at all — about the photos I am taking.
Here is my takeaway from this experiment:
Shooting portfolio-grade photographs exclusively with my cell phone is never going to be for me. I admit I was biased going in, but actually taking the time to test my theory proved that I was right about myself — I am a little too snap-happy to be able to make good, thoughtful photographs with my mobile device. I need more traditional camera in order to ground myself in my work. This is, perhaps, because I use my cell phone camera mostly for Snapchat, so I associate the action of using my phone’s camera as a lazy one for the sole purpose of being stupid with my friends on social media. Or, perhaps, it is because I see too many other people on social media who use their cell phone cameras in place of a traditional camera and post trite photographs that look — excuse me for being so blunt — just like everyone else’s. Whatever the case may be, using my cell phone as my main camera is simply not the lifestyle I plan to lead.
Does this mean I won’t ever use my cell phone camera to create work that may make it into my portfolio? No, especially since cell phone cameras get better all the time and since I don’t have my other cameras with me 24/7. What it does mean, however, is that any photographs I do make with my cell phone will have to have been done with intent, because if I do not feel a connection to my work, what in the world is it worth, anyway?
It's been a year.
Happy New Year everyone!
Today marks one year since I began this website, and what a year it has been. From starting this site to lockdown to being featured in an article for my lockdown photos to life changes to everything in-between, it's been a wild ride.

One of my biggest goals leading into 2020 was to finish a website in time for a January 1st launch; thankfully, I was able to achieve this goal, and I am incredibly proud of how this website turned out. This year my goal is to create more, better content for this site, including uploading new photos to my galleries more often and writing more blog posts. If you have any suggestions about topics I should discuss on this blog, you can drop a comment down below or contact me through email or through Instagram — I am open to any and all suggestions.
Speaking of Instagram —if you have somehow stumbled upon this site and you aren’t following me on Instagram, you are missing out! I post photos to my Instagram page much sooner than I do to my gallery here, and they are presented in the order in which I took them. In addition, I upload my Instax prints exclusively to my Instagram, so, if you have seen those on my blog posts and you like them, that is where they can be more regularly viewed.

I mentioned in a blog post a while back that I was looking into applying for graduate school this past fall; due to a variety of circumstances, that did not happen. However, I am planning on working on an even better portfolio of work and applying to schools this coming fall instead. If you have any recommendations for photography/fine art MFA programs I should look into, don't hesitate to reach out and let me know! I would LOVE to go out West, but I am open to other suggestions (as long as they are not in the state of Alabama).
Lastly, as a point of interest, this is the first post that has been published on my new M1 MacBook Air (a HUGE thank-you to all my family members who contributed money to go toward this investment! Also — it’s rose gold, and it matches my iPad, which excites me more than it should). I have been using an 8-year-old Toshiba for all of my photo editing and writing, and it is exciting to finally have been able to upgrade to something that suits my needs a bit better (though I am grateful for the time I had with my old laptop — it served me well). I am excited to produce new content using this machine, and I feel that it will increase my productivity and my desire to create.

Here’s to one year of kelseycollierphotography.com, and here’s to a new year of possibilities.
Thank you all for sticking with me; talk to you soon!
Peace be with you,
Kelsey
Merry Christmas!

Merry Christmas, everyone!
I hope that, wherever you are, and no matter what your beliefs, you are happy, healthy, and safe during this time.
I’ll be back next week with a year-end post. Until then, I wish you and yours all the best!
Peace be with you,
Kelsey
Instant Photography for Beginners: Top Camera Picks & Where to Buy

Welcome to the final post in my Instant Photography for Beginners series! I know it’s been a while since my last post, so, if you need a refresher, or if you are just now stumbling across my site and have not yet read parts I-III of this series, I encourage you to start at the beginning! Otherwise, let’s get into my top picks and my favorite places to purchase instant cameras.
**For the sake of brevity, I will not be breaking down each camera’s features as I talk about them, since I have already done this in Part II of this series.
Top Picks:
1) Polaroid 600-series

Polaroid 600 Barbie (x)
It should come as no surprise to anyone who knows my work that I would choose 600-series Polaroid cameras as my #1 suggestion. I have lumped the entire 600 lineup into one category because they all work similarly to one another with a few slight differences between models.
I love these cameras because they are a) easy to find, b) easy to use, and c) easy to get film for. They are also relatively inexpensive due to their abundance in the instant camera market, which makes them a relatively budget-friendly vintage option. To add to all of this, they come in a LOT of different colors, patterns, and character editions (like the Barbie camera pictured above), so you get the opportunity to choose a camera that fits your style and personality.
If it is not clear enough already, the 600-series gets my top pick for best vintage camera.
2) Polaroid Now i-Type

Polaroid Now i-Type (x)
This spot almost went to the Polaroid OneStep 2, but, for a price difference of $10 US ($89 for the OneStep 2 vs $99 for the Now), the Polaroid Now packs in a few more features that make for a better experience while still being beginner-friendly.
This is the newest camera in the Polaroid lineup, and, for those who are looking for a somewhat vintage experience with a few modern conveniences (gotta love a rechargeable battery!), this camera is the perfect option. Not only are the cameras themselves fairly priced, but the film for these cameras is less expensive than the film for 600 or SX-70 models (around $16 per pack instead of $19 per pack) due to the film cartridge not housing a battery. Another cool thing about this camera is that, because it is an i-Type, Polaroid is constantly releasing limited-edition film packs for this camera (you can currently purchase Peanuts and Star Wars: The Mandalorian packs, for example), and you can use 600 film in them too, if there are limited-edition frames you wish to shoot with.
All-in-all, I think this camera is a brilliant option, and gets my top pick for best-all-around due to the features and pricing.
3) Fujifilm Instax SQ6

Fujifilm Instax SQ6 (x)
If you are looking for a classic square-framed image and are a fan of Fujifilm, this is the camera for you. Not only are these cameras beautiful to look at, but, for $100 US (and often less, since they are regularly put on sale!), they pack a real punch in terms of features while still being easy to use. The film for these cameras is also considerably less expensive than the film for Polaroid cameras, which makes them the most budget-friendly camera option for those who still want a square frame.
In conclusion, the SQ6 gets my top pick for best modern square-format camera.
4) Fujifilm Instax Mini 11

Fujifilm Instax Mini 11 (x)
As far as ease-of-use goes, the Fujifilm Instax Mini cameras take the top-spot. If you are someone who wants to simply pick up a camera and go without having to fiddle around with too many features and you enjoy the credit-card sized image the Instax Mini produces, I would definitely say give this camera a try. They come in an array of colors, too, which makes them fun to use in addition to being easy.
In addition to being my top-pick for most fun to use, this is also my pick for most kid-friendly, not only because they are easy to use and inexpensive to purchase, but also because they are lightweight and have a curvy shape that fits well into smaller hands.
5) Polaroid OneStep+ i-Type

Polaroid OneStep+ (x)
Finishing off with Polaroid, my final recommendation for an instant camera for beginners is the OneStep+. This camera gives you all of the features of the Polaroid Now, but with added Bluetooth Connectivity so that you get even more creative control by pairing the camera with the Polaroid Originals app.
In my opinion, this camera is great for those who are already into digital photography and want to get into instant photography, as it brings in a lot of what digital cameras have to offer while still giving you the vintage vibe that Polaroid puts off.
This camera gets my pick for best segue from digital to instant.
Where to Buy:
In this section, I will be sticking to websites, as it is the most universal option. However, I do have a special mention at the end that is great for those who like to treasure hunt, so keep reading for that!
Polaroid: For Polaroid cameras, it makes total sense to go straight to the source when looking for a camera. They have a great selection of cameras that you can trust to be in perfect working condition, as well as a selection of accessories and film to go with your new camera. They also have a rewards program, which works by converting the dollars you spend on their site into points that can be redeemed for coupons once you have collected enough — if you are buying a lot of film from their site, these points really do add up!
Retrospekt: Retrospekt is a super cool shop — they refurbish old cameras (and GameBoys, too!) and sell them at fair prices. They, too, have accessories for your new camera, and they have a few types of instant film for sale as well. You can even ship used cameras to them to have them refurbished, which is a major plus if you have either found or inherited a used camera that doesn’t quite work. Plus, they offer free shipping on all orders!
B&H: B&H was THE go-to site for me to shop for film on during my college years, and I still love to purchase from them because they tend to have a good selection and great prices. They will even have discontinued camera models and editions from time-to-time, especially Fujifilm Instax cameras, and they will also have kits available on occasion as well, so I definitely recommend checking them out!
Best Buy: If you are looking for an Instax Mini or a Polaroid i-Type, Best Buy is a great place to go. I know I said I would be sticking to websites in this section, but Best Buy really gives the best of both worlds in that you can either order online or go into the store and find one of the aforementioned cameras.
Etsy: Etsy is on of my favorite websites to shop on, and, due to the wide array of sellers who sell on Etsy, it is easy to find and instant camera at a decent price. If you look hard enough, you can sometimes find a seller who has a unique or rare find. If you are shopping on Etsy, pay attention to whether or not the seller states that the camera is tested and in working condition, otherwise you may find yourself having to find someone to repair it.
Honorable mention: Vintage/Thrift shops! I am a HUGE fan of going vintage/thrift shopping, and I will often stumble across various Polaroid cameras when I am out and about. I am pretty good at being able to tell when a camera will or won’t work, and, if it does not, I know of a couple of places (Retrospekt being one of them) where I can send them off to be repaired if necessary. I got my Polaroid OneStep 600 from a vintage shop for $10 in PERFECT condition, so I would never rule second-hand shops out as an option if you enjoy treasure-hunting.
Another option is, of course, Amazon, and the only reason I did not mention them is because they are such an obvious option and because, quite honestly, I am not the biggest fan of Amazon and would rather look elsewhere first (this is a rant for another day).
As always, I encourage you to do your own research when it comes to buying cameras, as you may find that you have more in-person options where you live, or different websites you like to purchase from if you are outside of the United States.
Conclusion:
Thank you all so much for sticking with this series! I know this post took a while to get out (I’ve had a lot of life events happen in the past month), so, if you came back to read this, I appreciate your patience!
This was such a fun and ambitious project to undertake — I certainly underestimated the amount of time and research it would take to break down the world of instant-cameras in a way that would make sense for beginners, but I am overall pleased with how the series turned out.
If you have any suggestions for what my next post or series should be on, let me know in the comments below or by sending me a message, either through my contact me page or via Instagram.
Thanks again for reading, and I will talk to you again soon!
Instant Photography for Beginners, Part III: Film, Film, Film

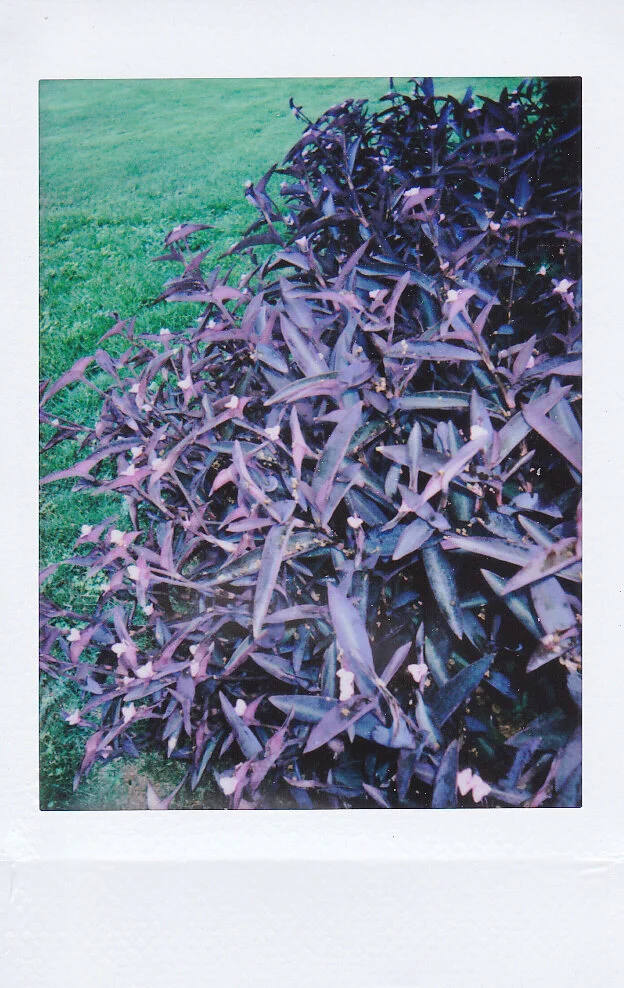
Untitled Instax Mini Print, Summer 2020
In my last post, we talked about the different types of instant cameras you can buy. If you have not read that post yet, I encourage you to click here, then head back to this post when you’re ready.
Today, we will be talking about what kind of film goes with which camera and a few places where you can find instant film.
Let’s get into it.
Polaroid:
Polaroid currently makes 3 types of instant film: i-Type, 600, and SX-70. Each is distinguishable by the coloring of the box it is packaged in.
It is important to note here that the traditional frame color for Polaroids is white, but Polaroid also makes several special-edition films for each of their cameras (with exception of the SX-70, which you can get only color or black-and-white film with white borders for). If you look through my Polaroid page, you will see several examples of special-edition 600 film that I’ve shot over the past 3 years; most special-edition films are seasonal offerings, so it’s good to check in every so often to see what Polaroid has on there site, though there are a few places I will mention later where you can sometimes find discontinued editions.
Now that that disclaimer is out of the way, let’s talk compatibility.

Polaroid Color i-Type film (x)
i-Type: i-Type cameras are compatible with both i-Type film and 600 film, because both have the same ISO 640 light sensitivity rating. The difference between the two films in that the -Type film will not have a battery in the film pack because the battery is built into the camera, while 600 film will have a battery in the film pack because 600-type cameras do not have built-in batteries. The 600 film is more expensive, but, if you are browsing Polaroid’s website and see a special edition 600 film that you are dying to try in your i-Type camera, it will 100% work for you. i-Type film is distinguishable by its yellow box.

Polaroid Color 600 Film (x)
600: 600-type cameras are compatible only with 600 film, as i-Type film does not contain the battery needed to operate a 600 camera. 600 film is distinguishable by its blue box.

Polaroid Color SX-70 Film (x)
SX-70: SX-70 cameras are different from the other two cameras we previously discussed, as they have a significantly lower ISO (light sensitivity) rating of 160, meaning that the film needs a lot more light coming into the camera for the film to be exposed properly than do i-Type and 600 films. This means that, technically, the only film that works without modification is SX-70 film. However, Polaroid has a handy thing called a Neutral Density (ND) Filter that you can place over a 600 film cartridge, which filters the light coming through the camera to that your film isn’t overexposed (remember, 600 film is a LOT more light-sensitive than SX-70 film is). Here is the video in which Polaroid themselves explain the ND filter and how to install it. If you have an SX-70 camera and are interested in shooting special-edition 600 films on it, this $6 (US) filter is totally worth picking up. Lastly, Polaroid SX-70 film is distinguishable by its red packaging.
Instax:
Instax films are super easy to sort through, since they have only 3 kinds of film for 3 kinds of cameras, and none are cross-compatible, unlike with Polaroid cameras. The three types are:

Fujifilm Instax Mini Color Film Twin Pack (x)
Mini: Mini film, is, of course, compatible with Instax Mini camera models. Instax does a range of special-edition films for the Minis, including branded collaborations (such as with Disney and Sanrio).

Fujifilm Instax Wide Twin Pack (x)
Wide: Wide film is compatible with the Instax Wide camera. To date, I have seen only two special-edition films for this camera.

Fujifilm Instax Square Twin Pack (x)
Square: Square film is compatible with — you guessed it — Instax Square cameras. I have seen a couple of special-edition films floating around for this camera, but, again, there is not the variety in colorful and patterned borders for this camera (or the Wide) that there is for the Mini.
Notes on film development:
When it comes to development times, Fujifilm Instax and Polaroid films differ pretty drastically. Instax films, on average, develop in around 90 seconds, with some variation in timing due to temperature (i.e., in cooler temperatures, it develops more slowly). Polaroid film, however, takes significantly longer to develop; color film takes, on average, 15 minutes to develop, while black-and-white film takes 10.
A lot of people are familiar with the idea that they should shake their Polaroids to help development. However, neither Polaroid nor Instax films need to be shaken, and, according to Polaroid, you should definitely refrain from this practice because the rapid movement during development can cause the film to develop unevenly. Instax film is not as fussy in this regard, as shaking it does not appear to harm it, but it is still an unnecessary step.
One thing you SHOULD do is shield your film during development. This does not apply to Instax film, as exposure to light during development does not appear to harm it (although shielding it from light during development won’t hurt it, either), but Polaroid film should be shielded from light for at least the 10-15 minute time frame it takes for development. When I’m out shooting, I turn my film away from the sun and place it in my pocket/bag/etc. as quickly as possible, and leave it there for at least half an hour to be safe.
Another thing to note is that Polaroid sells an accessory for their cameras called a film shield. This protects the film during the first few seconds of development, which are critical because that is when the highly light-sensitive emulsion layer (the layer that signals the film to begin developing) is spread. One of my cameras came to me with an older film shield in it, but it snaps back into the camera immediately after shooting; if you pick up a camera and find that this is the case for you, too, I would recommend picking up a new shield and installing it (though I have never done this myself — oops), and, of course, if your camera does not have one installed in all, it’s a good idea to install one (again, I have yet to install one in my camera that does not have one — do as I say, not as I do). They cost $12 US and can be found on Polaroid’s website, along with installation guides for both 600 film shields and SX-70 film shields (they are built into i-Type cameras, so you are good-to-go if you have one of those).
While we are here: If you have looked at either my Polaroids or someone else’s and noticed blue streaks (also referred to as “blue lightning”), this could be due to the film being exposed to light during development. Unfortunately, even with a film shield, this can happen because it is virtually impossible to keep it 100% shielded from light the entire time it is developing (for example, it is generally exposed for a few seconds while you transfer it from the camera to your pocket). This is an effect that I personally have come to enjoy because, in my opinion, it gives the images a unique, ethereal quality, but, if you wish to minimize this, the answer is the film shield.
Where to Buy:
There are quite a few places that you can visit to find film for your cameras; as always, I encourage you to do your own research and to shop with places that are convenient for you and that have exactly what you want or need.
Some big-box store options you have for finding film in the U.S. are:
Best Buy — note that, to my knowledge, they do not carry SX-70 film
Barnes & Noble — note that, to my knowledge, they do not carry SX-70 film
These are a few places where I have seen different types of instant film sold, either in-store or online. Please note that I do not know the availability of these items in your local shop, and that I am in the U.S., so I don’t know where to get film in other countries.
Moving along, here are my absolute favorite websites (other than Amazon) where you can find film:
Polaroid — The first place I go looking for film is Polaroid’s website (obviously, not a great option if you are looking for Instax film). I like to buy from their website because it is easy to navigate, they always have the most recent editions of everything they are offering, and because I enjoy their rewards program. I also like that Polaroid ships to a wide range of countries, including the U.S. & Canada, the U.K., and Europe.
B & H — I have been buying photography equipment and film from B & H for over 5 years now, and they have never once disappointed me. Their pricing is always fair, and, if you are an Instax photographer, they often have great deals on bulk packs of film. If you watch their site enough, you will sometimes find expired film at a discount (if you want to know more about shooting expired film, feel free to send me an email or a message on Instagram — I will be doing a detailed post on expired film at a later date) or discontinued special edition films that you cannot get elsewhere.
Adorama — Adorama has a decent selection of film, and will often have products available at a discount. Much like B & H, you can sometimes find expired or discontinued special edition films.
Freestyle Photographic Supplies — This is a website that I learned about from my photography professor while I was in college. Much like the previous two websites, they are a great site to keep an eye on for expired and discontinued films, and their pricing is fair, if not discounted.
As of the time I am writing this, all of these places are low on stock due to the COVID-19 pandemic. Everything I have said above is correct under normal circumstances, but I don’t want you to feel disappointed if you check them out and don’t see something you are looking for.
Lastly:
I hope you have enjoyed this post and found it helpful. As always, if you have any questions, feel free to either send me an email using the “contact” link at the top of the page, or by reaching out to me through Instagram (@kelseycollierphotography).
In my next post, which will (hopefully) be up in the next two-three weeks, I will be wrapping this series up with my top instant camera picks, as well as discussing some places you can find instant cameras. I hope to see you all there!
Instant Photography for Beginners, Part II: All About the Cameras

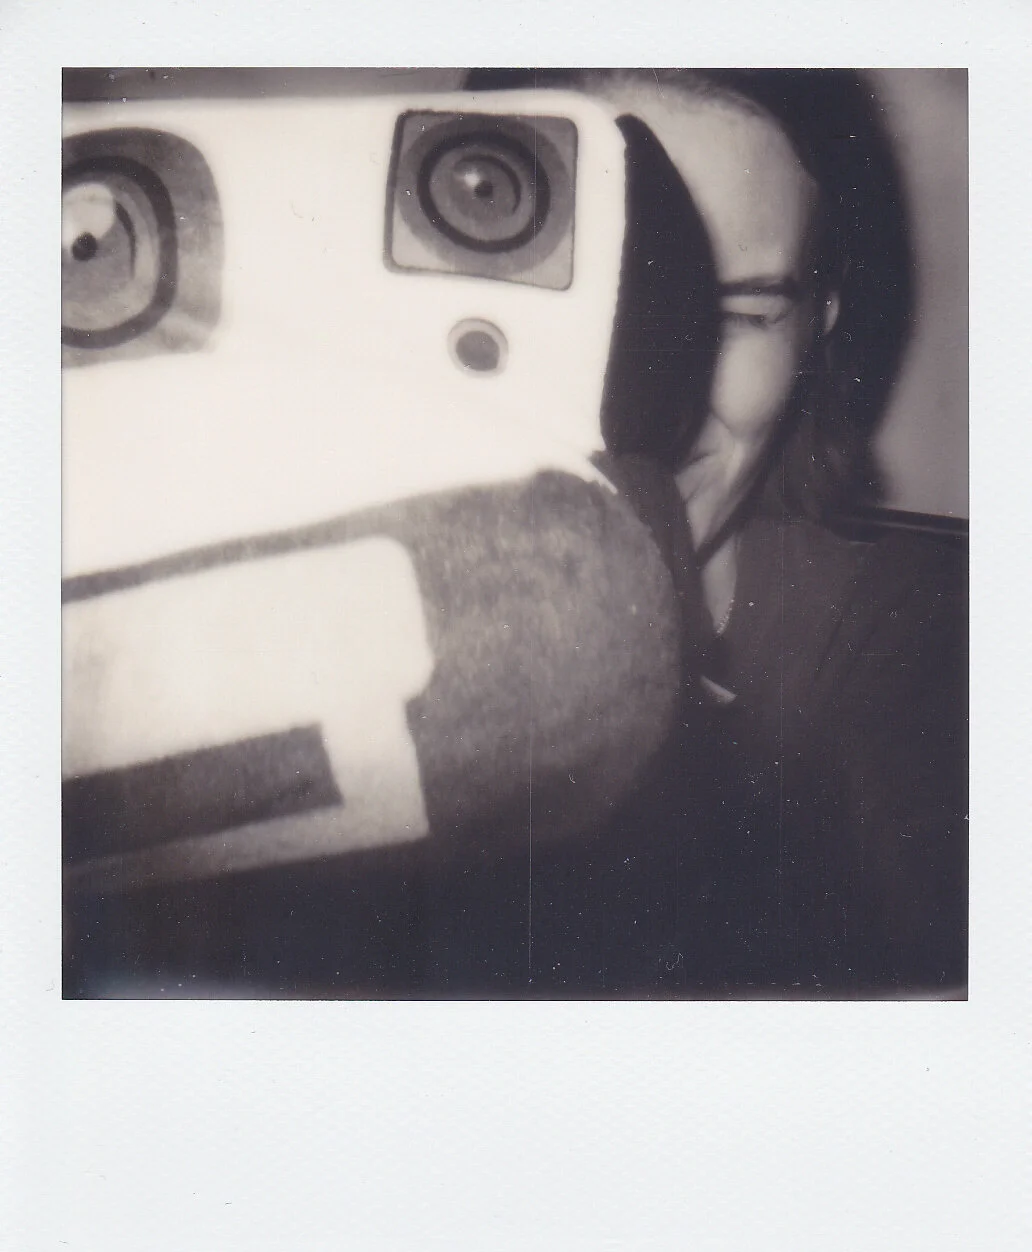
Untitled Self-Portrait, Summer 2018
There are many types of instant cameras on the market, and the most important thing to know is how to identify what kind of camera you are buying so that you know what features it sports and what kind of film it takes. For this post, I will be discussing Polaroid and Instax models, since they are the most popular and beginner-friendly.
Polaroid:
There are several types of Polaroid cameras you can choose from, and they all come at different price ranges and have their pros and cons when drawing comparisons between models. It is worth noting here that I will not be discussing Polaroid’s cameras that took roll film or pack film, nor will I be discussing the Spectra, since film is no longer in production for these cameras.
SX-70:

Polaroid SX-70 Land Camera(x)
Polaroid produced SX-70 model cameras from 1972-1981. Artists such as Ansel Adams, Helmut Newton, Andy Warhol, and David Hockney created photographs with SX-70 models, and the camera maintains a certain degree of popularity among Polaroid artists today.
The most important thing to note about SX-70 models is that there are two main types, and they come at very different price-points: there is the original SX-70, and there is the Land Camera 1000, known stateside as the OneStep (not to be confused with later OneStep models, which I will discuss momentarily).
The original SX-70 is unique amongst all other Polaroid cameras because it folds down into a compact square, making it easy to carry and to store. All original SX-70 models come with manual exposure compensation and focusing knobs, though it is worth noting that later models include a split-image rangefinder prism so that the user can more easily get their subject into focus. These cameras are, barring collector’s editions of other types, the most expensive Polaroid cameras one the market, due to their more complex design.

Polaroid SX-70 OneStep(x)
The SX-70 OneStep models, which is where the ever-popular white-with-rainbow-stripes design originated, were created in response to the public’s complaints that the original SX-70 cameras were too expensive for the everyday consumer to purchase. With a release price of $40 US in 1977 (which is the equivalent of roughly $170 US today), The OneStep was the best-selling camera model of the ‘77 Christmas season. These cameras are significantly less expensive to purchase than original SX-70 models.

Polaroid SLR 680 (x)
There is one more model of the SX-70 that makes a great segway into the next type of Polaroid we will be discussing, because it is something of a hybrid model — the Polaroid SLR 680/690. This model is the most expensive, clocking in around $700, and is popular mostly among professional photographers due to its more advanced features.
600:

Polaroid Supercolor 635CL(x)
The 600-model Polaroids are easily my favorite, and most of the Polaroid photographs you see floating around Instagram are created with 600-type cameras. 600-model Polaroid cameras, while having the same basic features, have the most variation when it comes to colors and designs. Being less expensive and more readily available than SX-70 models, I would argue that 600s are the most popular Polaroid cameras on the market. I myself have two 600-model cameras — one from the 80’s and one from the 90’s — and, speaking from experience, I think that Polaroid 600s are the best Polaroid cameras for a beginner who is interested in a true-vintage experience without a high price tag. All 600-type cameras have a slide bar that you use to control the exposure — for example, if it is sunny and you want lower exposure, you will slide the bar toward the white arrow to the left, and, if it is darker and you want to increase the exposure, you would slide the bar toward the black arrow to the right.

Polaroid 600 Cool Cam (x)
There are many 600-type cameras to choose from (to save time, here is a list that breaks down different 600 models and their individual features), but there are some basic features shared by many of the models that are important to look for when choosing your camera. One such thing to note is whether or not the model you are looking at has built-in Autofocus; Polaroid has made this easy, since they will put “AUTOFOCUS” on the body of the camera if it has this feature. Another point to note is that some cameras are Close-Up models, which means that there is a close-up lens that you can slide over the normal lens when you are closer than 4 feet from your subject. I think it is worth stating that I have found the close-up lens on my close-up model to be largely useless, but it creates a cool blurring effect and is fun to play with nonetheless.

Polaroid 600 Impulse Portrait (x)
Most cameras will have an electronic flash that fires automatically, but you will find a few models without this feature: The Amigo, Quick 610, the Spirit, and OneStep/Pronto 600, which have the option to install a flashbar, and the One600, which gives you the option to control whether or not the flash bar fires and also gives the option for red-eye reduction if you are taking a flash portrait.
i-Type:
The i-Type is the most recent release from Polaroid, and it is unique to all other Polaroid models in that the camera has the battery built into it instead of the film. It is extremely important to note that, while you CAN use 600 film in an i-Type camera, you CANNOT use i-Type film in a 600 camera due to the lack of a battery within the i-Type film (I will go into more detail on this topic in my next discussion, which will be about the film). i-Types are, in my opinion, a great option for beginners, especially if you don’t care too much about an authentic vintage experience and are just here to make cool instant pictures without the added price that comes with using vintage cameras. These cameras are the least expensive (non-thrifted) ones you can buy, and the film for these is also less expensive because you aren’t having to pay for the inclusion of the battery. All of these things combined make them the ideal choice for most beginners.

Polaroid OneStep2(x)
There are a few different i-Types you can choose from, and each one comes with its own unique features. The OneStep2, clocking in at $90, is a fantastic option because it is easy to use and easy to find; I have seen this camera for sale at Target, Barnes & Noble, and Office Depot, and it is available from a variety of other websites in a variety of color ways. There is even a special-edition Stranger Things version of this camera that is available for $100. This camera is styled like the original SX-70 OneStep, but is even easier to use; it is a simple point-and-shoot model with a flash button to turn the flash on or off, and the camera has a built-in rechargeable battery that you charge via USB.

Polaroid OneStep+ (x)
The OneStep+ takes the idea of the OneStep2 even further by adding Bluetooth connectivity to the camera, which, when connected with the Polaroid Originals app, gives extra control options such as manual, double-exposure, and timed photo modes, among others. This camera will run you around $140, is a great option for photographers looking to add some modern touches to their instant photography experience, or for more advanced photographers looking for additional features.

Polaroid Now(x)
The Polaroid Now, which costs $100, is a lot like the OneStep 2, but it has a few additional features, such as a 2-lens autofocus system (the camera decides which lens to use to give you the sharpest image), a double-exposure mode, and a self-timer.
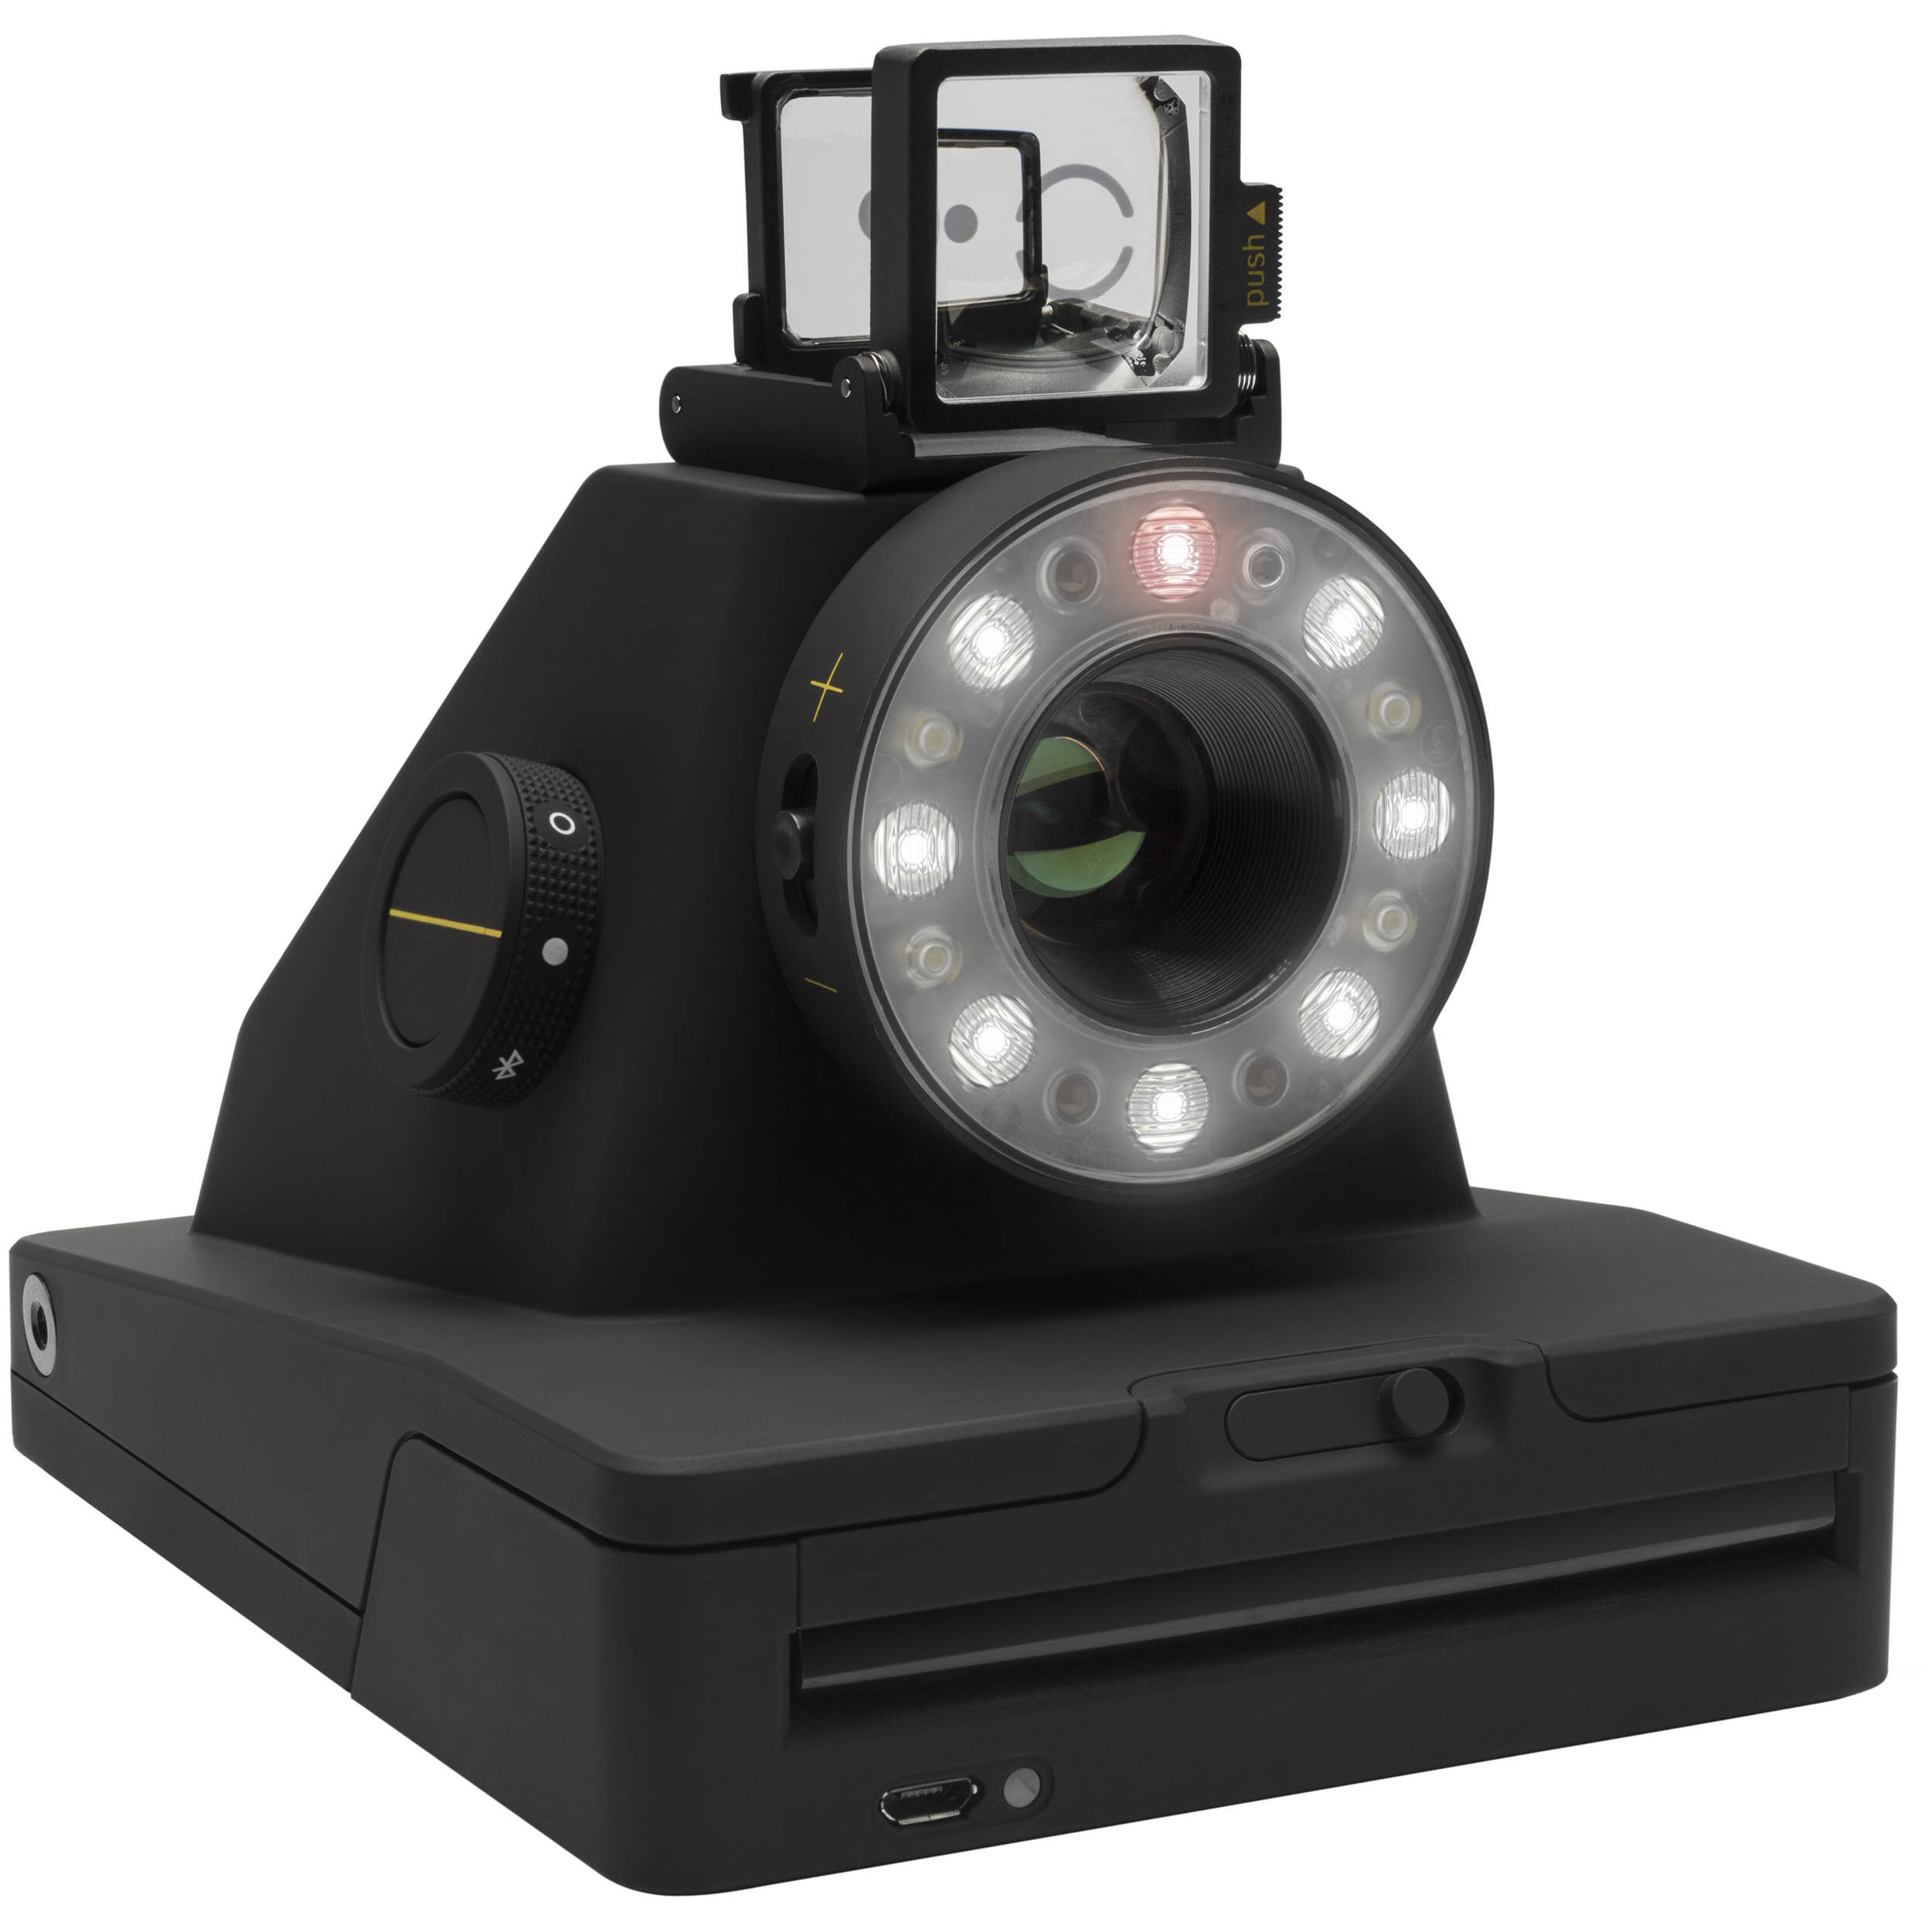
Impossible Project I-1(x)
Another camera you may find floating around and that is worth mentioning is the Impossible Project I-!, which was released in 2016 and was Impossible Project’s (now Polaroid’s) first venture into creating a new instant camera. This camera is relatively cool in that it can function as a point-and-shoot camera, but it has an app (that is still available for download) that you can connect it to to unlock additional features that are much the same as those of the OneStep+. This camera has a unique flash ring, an autofocus lens, and a detachable viewfinder. This camera is a rare find and can be pretty expensive (one site has one for sale for $280), and, other than the flash ring, is a lot like the OneStep+; I thought it was worth mentioning in case you come across one, but I would not recommend that a beginner spend the money on this camera.
Fujifilm Instax:
Instax cameras are newer to the market than Polaroid cameras, but this does not mean that they don’t have a place within the instant market. My first instant camera, as I mentioned in Part I, was an Instax Mini 8, and I still use it to create photographs to this day (though I must admit that these photographs are Instagram-exclusives and are not part of my professional portfolio — maybe one day, though).
There are three main types of Instax cameras to talk about, and all of them come at reasonable price-points, especially if you are comparing them to Polaroid-brand cameras.
Mini:
We have ALL seen photographs created with the Instax Mini. These cameras hit peak popularity with the 2012 Instax Mni 8, and have gained quite a following with younger photographers who want in on the instant trend. Instax Mini photographs are recognizable by their credit-card shape and size.

Instax Mini 11 (x)
You can pick up a new Instax Mini 11 for $70 (though they are currently on sale at most locations for $60) at Best Buy, Urban Outfitters, Target, Amazon, etc., and the film generally runs around $10 for a pack of 10 photos, making it the least expensive instant photography option (you can pick up older models for less than this on Amazon and other sites, if you choose). These cameras also come in a variety of colors and are exceptionally easy to use, making them a great option for kids and adults alike who want a fun way to capture instant images. These cameras have a couple of basic functions; there is an on-camera flash that cannot be turned on-and-off, and an exposure ring around the lens that has an indicator light, which indicates what the camera believes to be the best exposure setting based on your environment, and a selfie mirror and a button which triggers the camera’s selfie mode (this is available on the Mini 9 & 11). The Mini 11 also comes with what Fujifilm describes as a “high-performance flash,” which is supposed to take care of the problem that previous models had with blacked-out backgrounds due to the flash not being bright enough to light up the whole scene. I have not used an 11 for myself, so I cannot attest to how much better the flash really is, but it is worth noting that it has been updated, if you have seen images from older cameras and been unimpressed by the blacked-out backgrounds. The Instax Mini 11 uses 2 AA batteries (older versions use 4), which can be a downside if you do not prefer them.
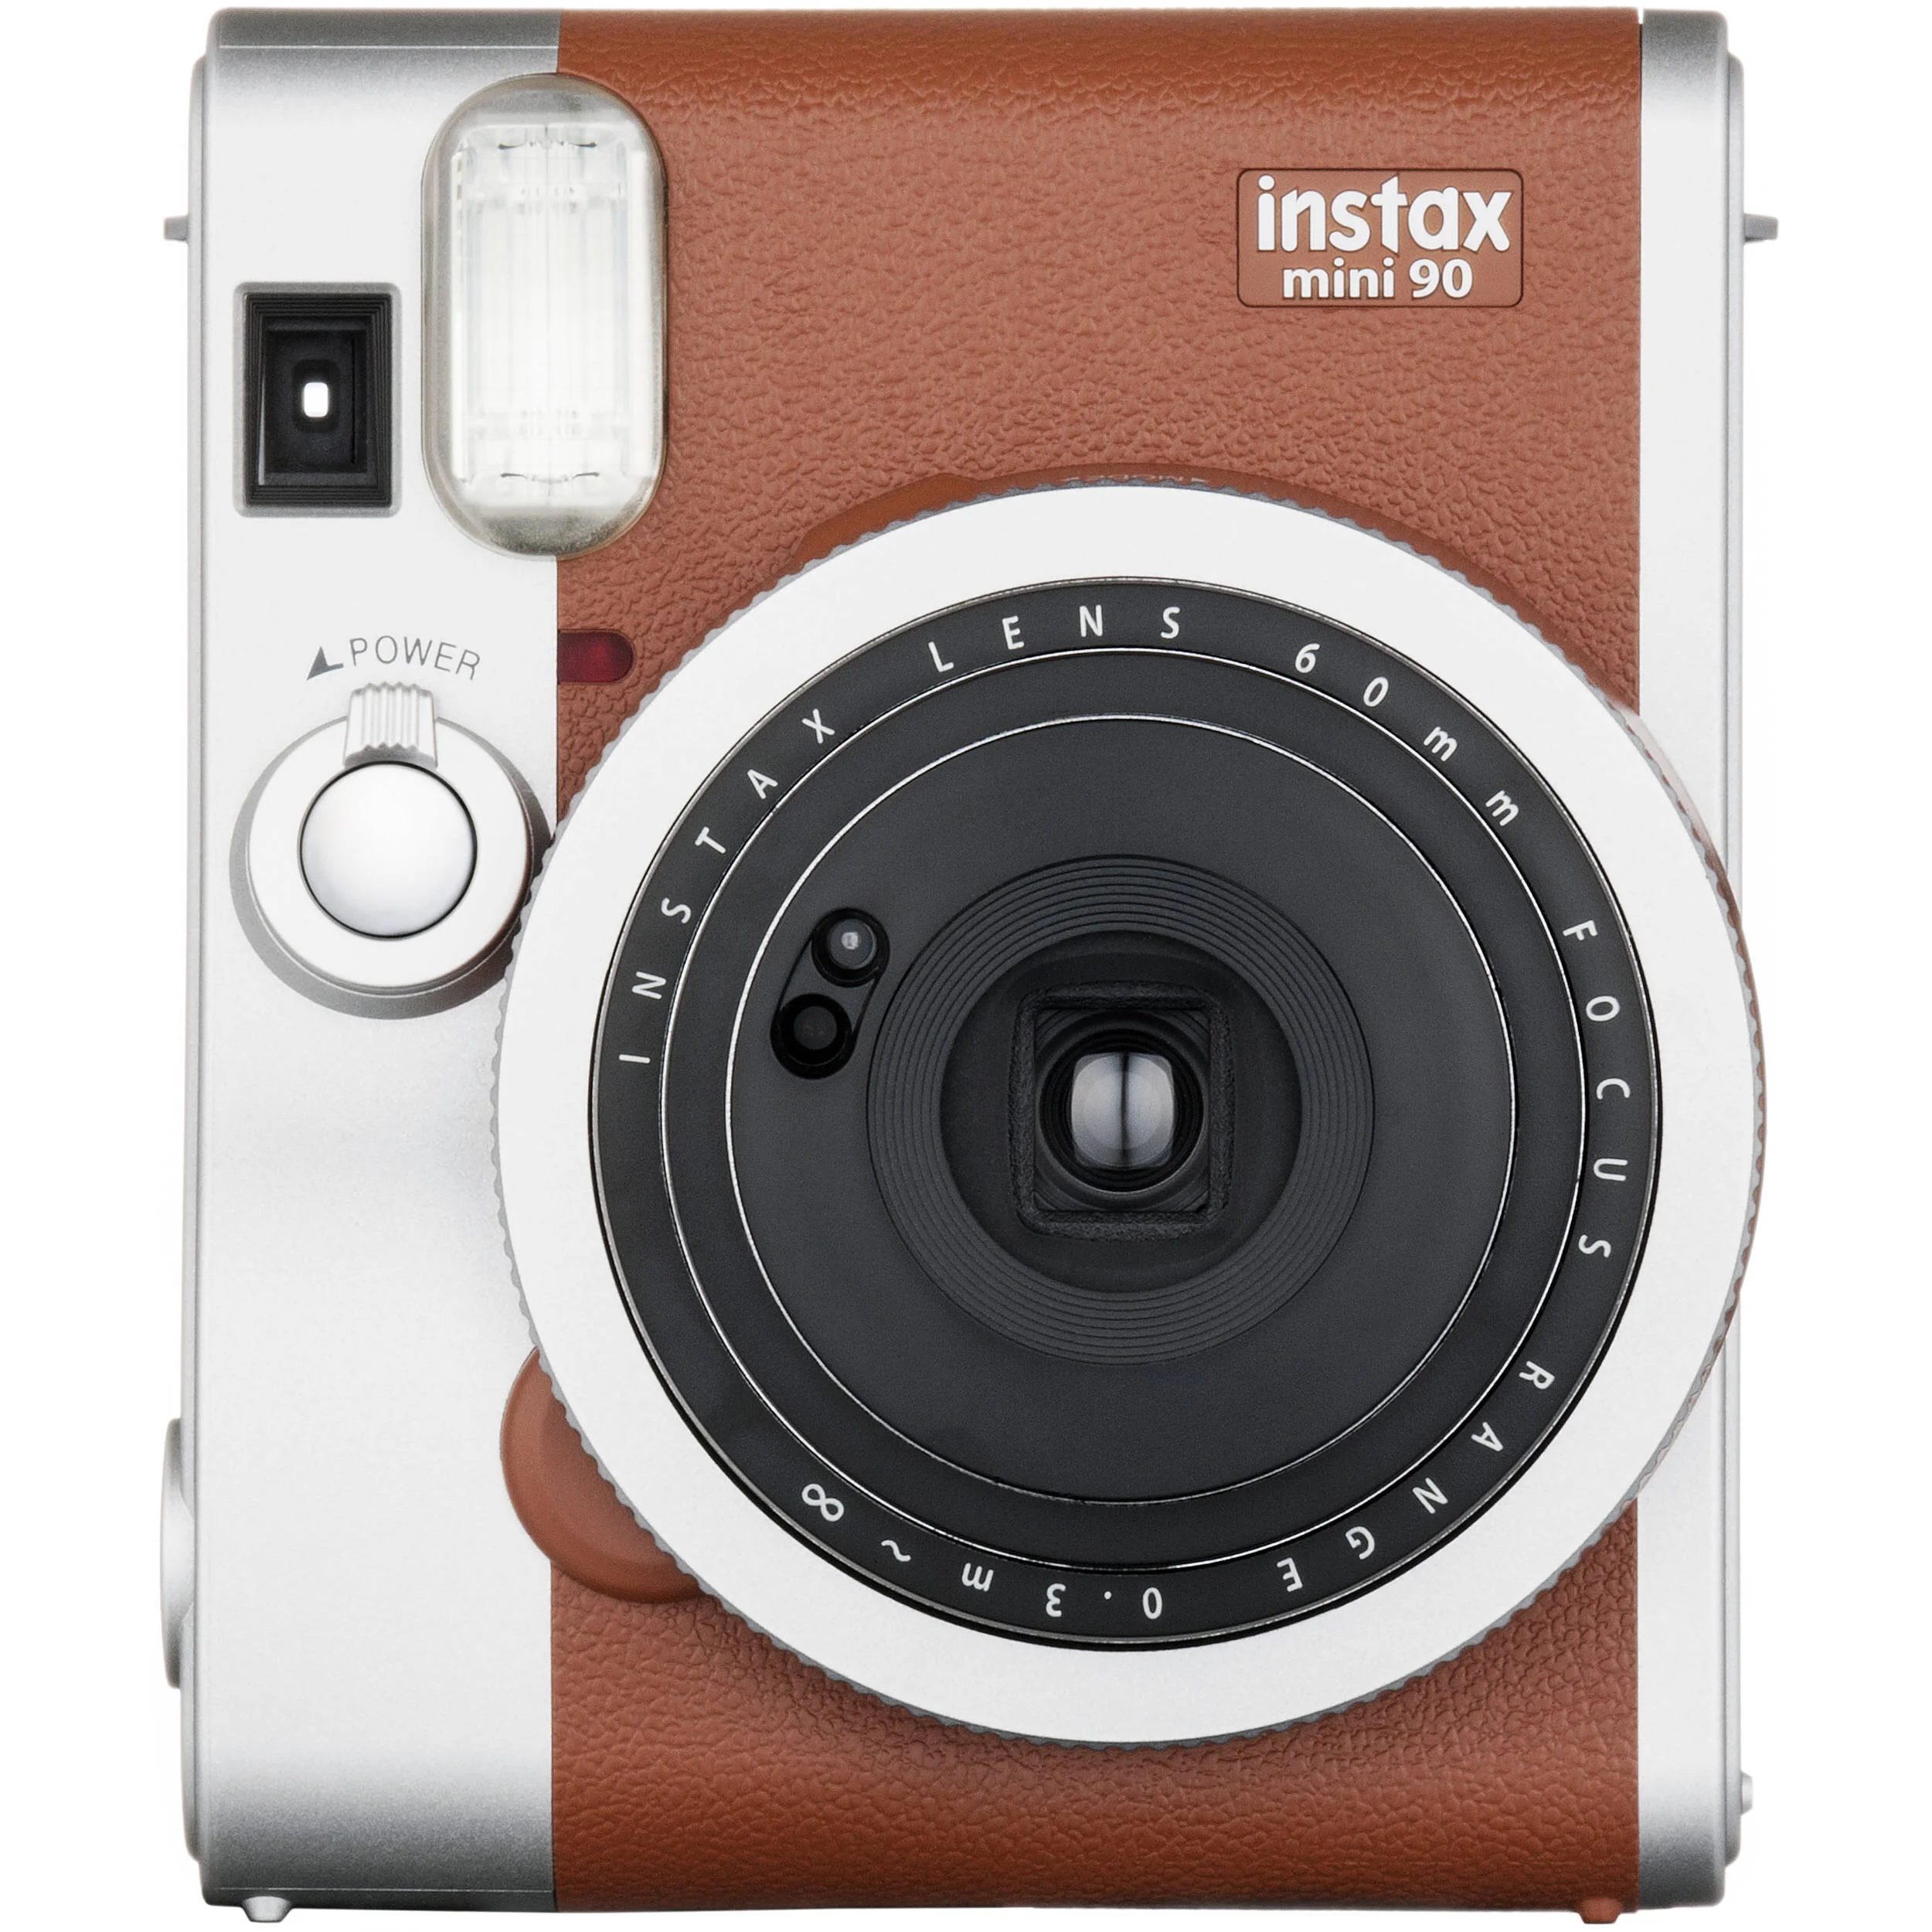
Instax Mini 90 Neo Classic (x)
The Mini 90 Neo Classic runs somewhere between $113-$130 depending on who you are purchasing the camera from, and it is a great option for people who are looking to upgrade from the traditional Mini or for those who already have a knowledge of photography and want to play around with small-format instant photos. It includes bulb, macro, and double-exposure modes, in addition to a couple of other niche modes, as well as a “high-performance flash” (again, I can’t attest to how well this actually works) and 4 brightness modes: normal, bright, brighter, and dark. Lastly, the Neo Classic has a tripod socket, which comes in handy when using the bulb or double-exposure modes. This camera comes with a rechargeable battery.

Instax Mini LiPlay (x)
The last Mini model I am going to discuss is the Instax Mini LiPlay, which goes for $160 (currently on sale for $150) and is essentially a digital point-and-shoot that prints the images on Mini film. This camera is unique in that it has a micro-SD card slot and can be synced up to your phone via Bluetooth so that you can print images from your phone or use your phone as a remote trigger for the camera. This camera also has a sound mode that can be used to record your voice; the sound waves are then converted into a QR code and printed on the image, which can then be scanned by you or your friends to hear the recording. This camera is, in my opinion, more gimmicky than the other options on this list, but I figured I would include it because it does seem like a fun camera if you just want a modern digital camera that will print on Mini film.
Wide:

Instax Wide 300 (x)
The Wide model is to Fujifilm what the Spectra model is to Polaroid — the film is wide-format (Fujifilm states that the wide film is twice as wide as their Mini film), which makes it the perfect option for landscape work or for group photos. The Instax Wide 300, the only Wide model available for purchase, goes for around $90, and film for $20 for a double-pack, making it a relatively affordable option. This camera is also exceptionally easy to use; there are two focus options, 90cm-3m and 3m-infinity, a flash-control button which enables you to turn the flash on or off (note that the flash will always fire if the camera senses the lighting is too low, and there is no way to disable this), and an exposure-control button that allows you to toggle between light, normal, and dark modes. This is a great option for photographers who either want a wide-format photo experience or for those who are looking for an alternative to the Polaroid Spectra. This camera takes four AA batteries.
Square:
Lastly in the Instax lineup, we have the Square models. The photos created with these cameras, of course, mimic the look of the classic square-format Polaroid, and there are two options you have when picking a Square model camera.

Instax SQ6 (x)
The SQ6, which can be purchased for $100, has controls that are similar to that of other Instax models we have already discussed, including a selfie mirror and mode, macro, double-exposure, and dark, normal, and light modes, as well as a landscape mode that is meant to help capture subjects that are further away. This camera takes two CR2/DL CR2 lithium batteries.

Instax SQ20 (x)
The SQ20, which is for sale at $200, is described by Fujifilm as a hybrid instant camera and has all of the same features as the SQ6, as well as several additional image modes, such as split-image and collage modes, as well as the option to add in-camera filters to your images before you print them. In addition, this camera has a 4x zoom lens (this is the only Instax camera to have this feature) and a Frame Grab feature that allows you to take a 15-second video, then choose which frame of the video you want to print. All of these features are accessible through a monitor on the back of the camera, which also allows you to perfectly frame your image, and this camera has a micro-SD slot for image storage. Lastly, this camera comes with a rechargeable battery. While I think this camera is fairly gimicky, I believe it would be a fun camera to play around with, and is great for someone who wants something modern that prints a square-format image.
Lomography:

Lomography Lomo'Instant Instant Film Camera (Explorer Edition) (x)
Although I will not be going into a deep discussion about these cameras today due to their more niche and advanced nature, I did want to quickly touch on Lomography’s instant camera models, which you may see floating around while you are on your search for an instant camera.
All of Lomography’s instant cameras take Instax film, which is a major plus for instant photographers who already shoot a lot of Instax, and, not only do they have a lot of cool designs to choose from, but they have unique features, such as add-on lenses and filters, that make them stand out from the traditional Polaroid and Fujifilm offerings. These cameras are perfect for artists who are looking to get more creative with their instant photography, but, if you are a beginner and you want to dive into the deep-end, these are great cameras to get creative with.
If you are interested in checking these cameras out, here is a link to Lomography’s instant camera webpage, where you can research and purchase cameras from their range.
Conclusion:
I hope you enjoyed this long-ish post about the different instant cameras that are available for you to purchase. I know I left out a few models, and, if there is anything you would like to discuss one-on-one, you may comment down below or contact me using the “contact” link at the top of this page. If I got anything here wrong and you notice, don’t hesitate to reach out about that as well, as it is possible that, with this much information to research and condense into one post, I may have missed out on something in editing.
I would like to point out that I pulled the information about the various cameras from product descriptions on both Polaroid and Fujifilm’s product pages, as well as tidbits about the brands and cameras from good ol’ Wikipedia, as long as their sources were cited. I also included links to the images I used, but did not post links to purchase the cameras pictured, in an effort to encourage you to research and choose the cameras on your own.
Lastly, my next post in this series will be much shorter, as I will be discussing the different types of film that go to the cameras I discussed today. That post will not be nearly as involved as this one, and therefore should also come out much sooner than this one did.
Again, I hope you enjoyed today’s post, and I will see you next time!
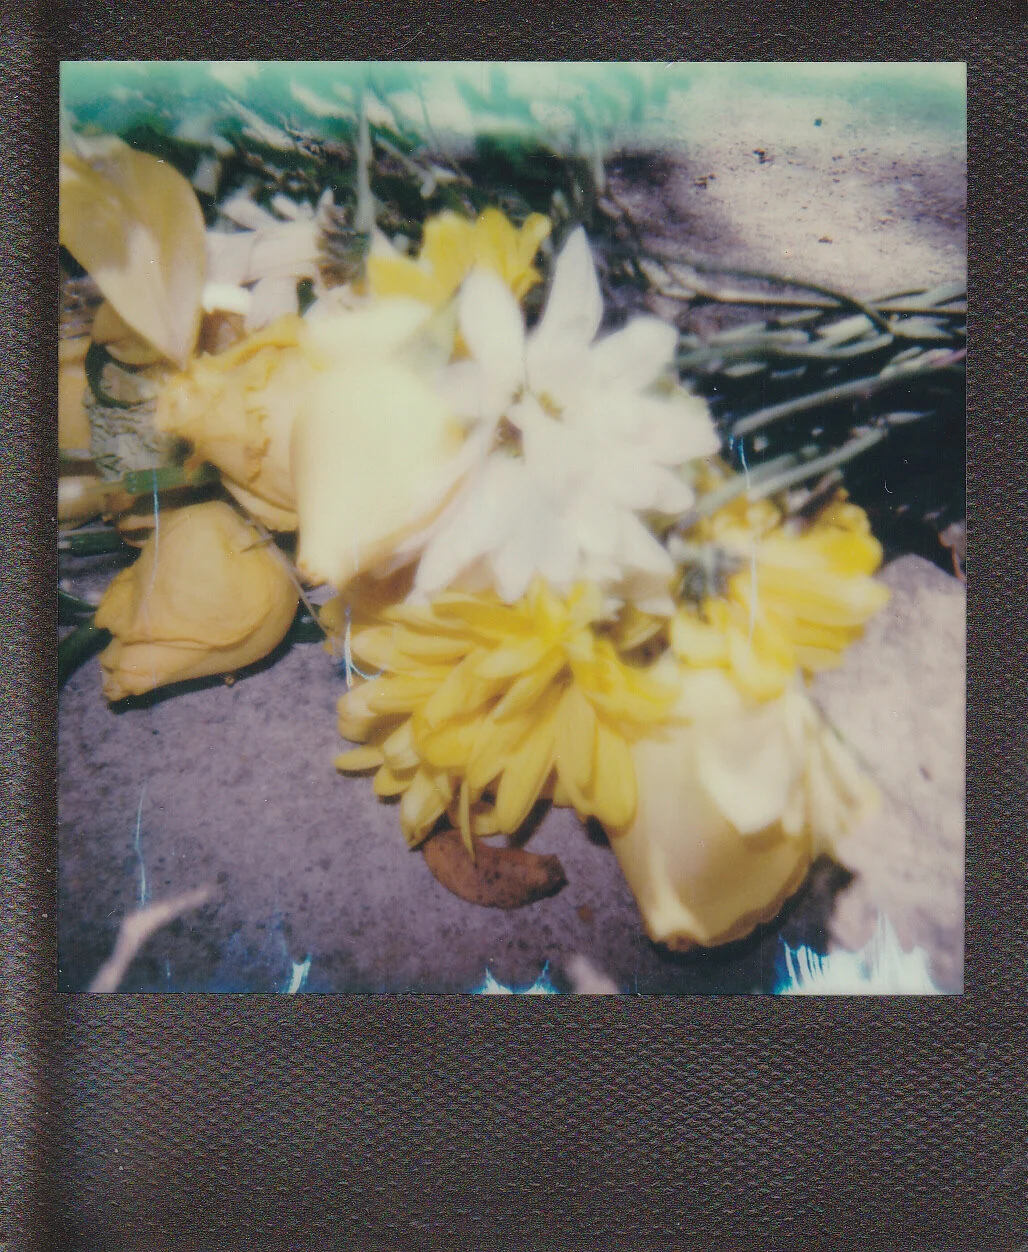
Instant Photography for Beginners, Part I: Introduction

Untitled: Fall 2017
A little over a week ago, one of my best friends was texting me to ask about buying film for the Polaroid camera she recently received as a gift. That conversation has given me inspiration for a new blog series all about instant photography that is aimed at people like my friend who are just starting out, because, let’s face it, the world of instant photography can be overwhelming, even for those of us who have been practicing it for years.
Instant photography is any kind of photography in which self-developing film is used to create an image. When we think of instant photographs, most of our minds immediately jump to one word: Polaroid. And why wouldn’t they? Polaroid did, after all, pioneer the instant camera, so it only makes sense that the word is synonymous with instant photography as a whole.
One of my favorite photography stories is, in fact, the one about how Edwin Land came up with the idea for the instant photograph. The story goes that Land took a photograph of his 3-year-old daughter, Jennifer, and, afterward, Jennifer asked her father why she couldn’t see the photograph at that very moment. Land found this thought intriguing and, after an hour’s walk during which he thought the concept of the instant photograph through, he went to his patent attorney to bring his vision to life.

Image Credit: EDN
In 1948, the Model 95 went up for sale at the Jordan Marsh Department Store in Boston, MA for a whopping $89.75 (adjusted for inflation, that is worth $985.62 in 2020). The camera, which produced only sepia-toned images that took 60 seconds to develop before the user could peel off the negative backing, sold out within minutes. It was — wait for it — an instant success (for a full history of Edwin Land and Polaroid photography, click here).

Image Credit: Engadget
Polaroid, like any other long-standing company, has been through many changes since then. In 2001, the Polaroid Corporation went bankrupt, and, in 2008, the “new” Polaroid Corporation, which had already gone bankrupt itself, decided that they would no longer be producing instant film. That same year, The Impossible Project, founded by Austrian photographer and SX-70 film vendor, Florian Kaps, and a former head of film production at Polaroid’s Enschede factory, André Boseman, in collaboration with Ilford Photo and with the help of Polaroid’s owners, set to work on redesigning Polaroid SX-70 and 600 films. In 2010, the Impossible Project officially achieved their goal and relaunched black-and-white film for both the SX-70 and 600 types, as well as a color film for SX-70 cameras; one year later, they released new-and-improved color films for the SX-70, 600, and Spectra cameras, and have since continued to improve their film quality, undergone a couple of re-brandings, and have even launched a few cameras of their own (for a brief history of The Impossible Project up to 2015, as told by the creators themselves, click here).

Untitled: Spring 2018
Another popular instant photography brand that we will be covering in this series is Fujifilm’s Instax brand. In 1998, Fujifilm launched the Instax Mini 10 and Instax Mini film; a year later, they released the Wide version of the camera and film, and, in 2017, they released the Square version of the camera and film. In 2012, Fuji released Instax Mini 8 (I still have and semi-regularly use the Grape version of this camera), which they branded as “the cutest camera in the world” and which garnered great success, especially in Asian markets. Later, in the year 2015, Instax sold 5 million units, and they have since continued to expand their product line and maintain popularity within the instant market (for a history of Instax, click here). Other brands, including Lomography, have even developed cameras that utilize Instax film, a few of which we will be talking about in a future post.
I am beyond excited to share my love of instant photography with you all through this series. I firmly believe in talking about what you know and in teaching others about your passions, and I can't wait to get started.
As always, if there is anything specific you would like for me to discuss or any questions you would like for me to answer throughout the course of these discussions, please, do not hesitate to reach out! Thank you so much for reading, and I'll be back next week to introduce you to the different types of instant cameras on the market.
See you then!
Series dedicated to Jolie
Changes, Challenges, and Continuance -- Where I've Been & Where I'm At

Oh, how quickly life can change — and change again.
It’s been nearly 3 months since last we spoke. Surprised? Same here.
In the last 3 months, I left “one job” for “another,” and have now left “another” for “who knows what?”. “Another,” while it taught me so much about myself and gave me new life experiences that I am grateful to have had, was unfortunately not the right fit for me. Though my time at “another” was brief, I will always count myself lucky to have had the chance to try something different and to work with the brilliant team of people I came to know in eight short weeks. I would be lying to everyone if I didn’t admit to being worried about what the future may bring — I never expected to find myself completely without direction, especially not in times like this, but it helps to know that I am not the only one experiencing this kind of uncertainty.
These circumstances, though challenging, have brought me back to thinking about the things in life that I truly want, especially in regards to my life as a photographer.
Here are a few of my thoughts:
First, I am starting to take a serious look at different exhibition and submission opportunities, especially for my Polaroids. I feel that I am in a great place with my work, and I am ready to start really putting it out into the world.
Second, I am strongly considering putting together a book showcasing the best of my work so far. Again, I feel that I am in a great place with my work, and I think having it commemorated with a book is another way to showcase how far I have come as an artist.
Third, I am also considering selling prints upon request. I would allow you to pick an image from one of my galleries, and then I would sell you a print of that image. I haven’t worked out pricing or anything yet because this is simply an idea — I’m not sure how many people would be interested in this, even — but it’s something I’ve been considering for some time now, and I thought I would bring it up here.
Fourth, as I mentioned in my end-of-isolation post, I am looking into other photographic mediums to sink my teeth into, including ones that involve mixing media. I believe that experimenting with new things is vital to the growth of an artist, and I am committed to this growth, especially because...
Fifth and finally, I am once again researching MFA programs, this time with a more open mind about where the programs are located and what they have to offer. Naturally, whichever program I choose will have to either have a dedicated photography MFA track or will have to be interdisciplinary but with a focus on photography, but, other than that, I have no other true specifications (other than this one -- the program cannot be in NYC or California. I've already tried programs in NYC and found that I no longer believe that NYC is the best fit, and I simply cannot afford the cost of living in California — nor do I truly want to live there, either).
If anyone has any thoughts, opinions, or suggestions in regards to any of the above topics, please, do not hesitate to reach out. I would love to hear from you!
I may not know where life is going to take me next, but I do know that I have learned so much about myself over the last few months, and, even though everything has not worked out the way I had hoped, I truly believe that the next great adventure is around the corner.
As always, thank you for taking time out of your day to be with me, and, if you have any suggestions for future blog topics, be sure to send them my way.
May peace be with you, and, until next time,
— Kelsey
Self-Isolation: Wrap-Up and Next Steps
What a time this has been.
Most of you who are reading this have probably seen, either through this website or on my Instagram, that I spent my self-isolation period taking one Polaroid for every day that I was home (there are 50 days and 51 photographs total, for any new visitors out there). I am officially back at work now, and can therefore no longer call any new images “Self-Isolation,” because I am no longer technically self-isolating (though I am not going anywhere except for to work — rest assured that I am still taking all possible precautions, because I understand that this crisis is FAR from over). Because this series has ended (unless another lock-down happens in the future, in which case, expect a part II), I wanted to sit down and take the time to a) talk about my experience making this new series of work and b) discuss my plans for the future and a few exciting things that are happening.
If you aren’t aware of my past work, I am a photographer who works primarily with Polaroids, and I use the medium to explore my surroundings and what “home” means to me (feel free to read my bio to get the expanded explanation). I began the body of work entitled Home in the fall of 2017 when I was beginning to work on my senior portfolio for my BFA program, and have been photographing my home since my first college photography class in the spring of 2015. Clearly, I have spent a lot of time thinking about my surroundings and the meaning that I draw from them, so, to me, picking up my Polaroid camera and expanding my Polaroid collection was a natural response to being stuck at home due to the current pandemic.
One thing I found myself doing while creating this series, which can both stand alone and be integrated into my already-existing body of work, something that was important to me when beginning this project, was finding new ways to explore parts of my home (and the front and back yards surrounding it) that I have already explored in photographs before. I experimented with new angles, zoomed in on specific scenes, and even managed to find a few things that have yet to be photographed, either because I haven’t gotten around to them or because they have changed over the past two-and-a-half years. Doing this series has re-invigorated my work in a way I did not believe was possible, and it has encouraged me to continue with a series that, a year ago, I proclaimed I was closing the doors on. I have been genuinely excited to make work every day, and not being able to call the series “Self-Isolation” anymore does not mean that I won’t continue to make photographs as often as I can.
I said in my last blog entry that I had not yet decided how I want to continue with my work; one idea that I have had that I want to try out is making a “Photo of the Week” post each Saturday to highlight my favorite image from that week, and continuing to put photos up on my Instagram and in my Polaroid gallery on this website. This seems the most reasonable way for me to continue to share my work without overwhelming the blog with new entries, since I want to get back to writing about photography and don’t want it to get lost in a sea of photographs or to disrupt the flow of any posts I am making (I hope that all makes sense). Another thing I have been doing during this time is playing with some new digital work that involves the use of crystal balls also known as crystal ball refraction photography, some of which you can find in the “film and digital” section of my site, and I am hoping to use this technique to add an interesting twist on my home photography sometime in the near future (also, if anyone knows of a reasonably priced macro lens I could add to my wish list, let me know!). Two final ideas I am considering are getting back into film work, since I have found a lab to send film to for development, and really delving into the world of cyanotypes, which I learned to do in a college photography course, but never took much interest in incorporating into my work until recently (I am drawn to these because they are relatively cheap to make and require only sunlight and water for development, making them a great at-home project). All this to say, I have a lot of ideas, and I am excited to explore all of my creative options.
Finally, I want to mention that I got a public feature in a local news article about photographers using creativity to stay connected during the COVID-19 isolation period, which I encourage you to check out here, since there are 4 other talented locals featured that I think you all should check out. This came as a total but welcomed surprise to me this morning, and I am grateful to have my work recognized, especially since I feel that this is the best work I have produced in a long time (thank you so much, Bham Now!).
FINALLY finally, thank YOU ALL so much for loving and supporting my work. I have enjoyed reading your comments and messages, seeing your reposts, and staying connected with you all during this time. I truly believe that creativity brings us all together and helps us to better relate to one another, and nothing has reaffirmed that belief more than seeing the outpouring of love you all have given my work and me over the past several weeks. For the next few days, I will be taking a break in photography to focus on a few life things, but I will be back soon with new photos and new blog posts focusing on a variety of photography-related topics (if there is anything you want me to cover, leave me a comment, send me an email, or message my on my Instagram @kelseycollierphotography — I am always open to suggestions and requests).
Thank you all again for sticking with me; I hope you and yours are well, and may peace be with you.
— Kelsey
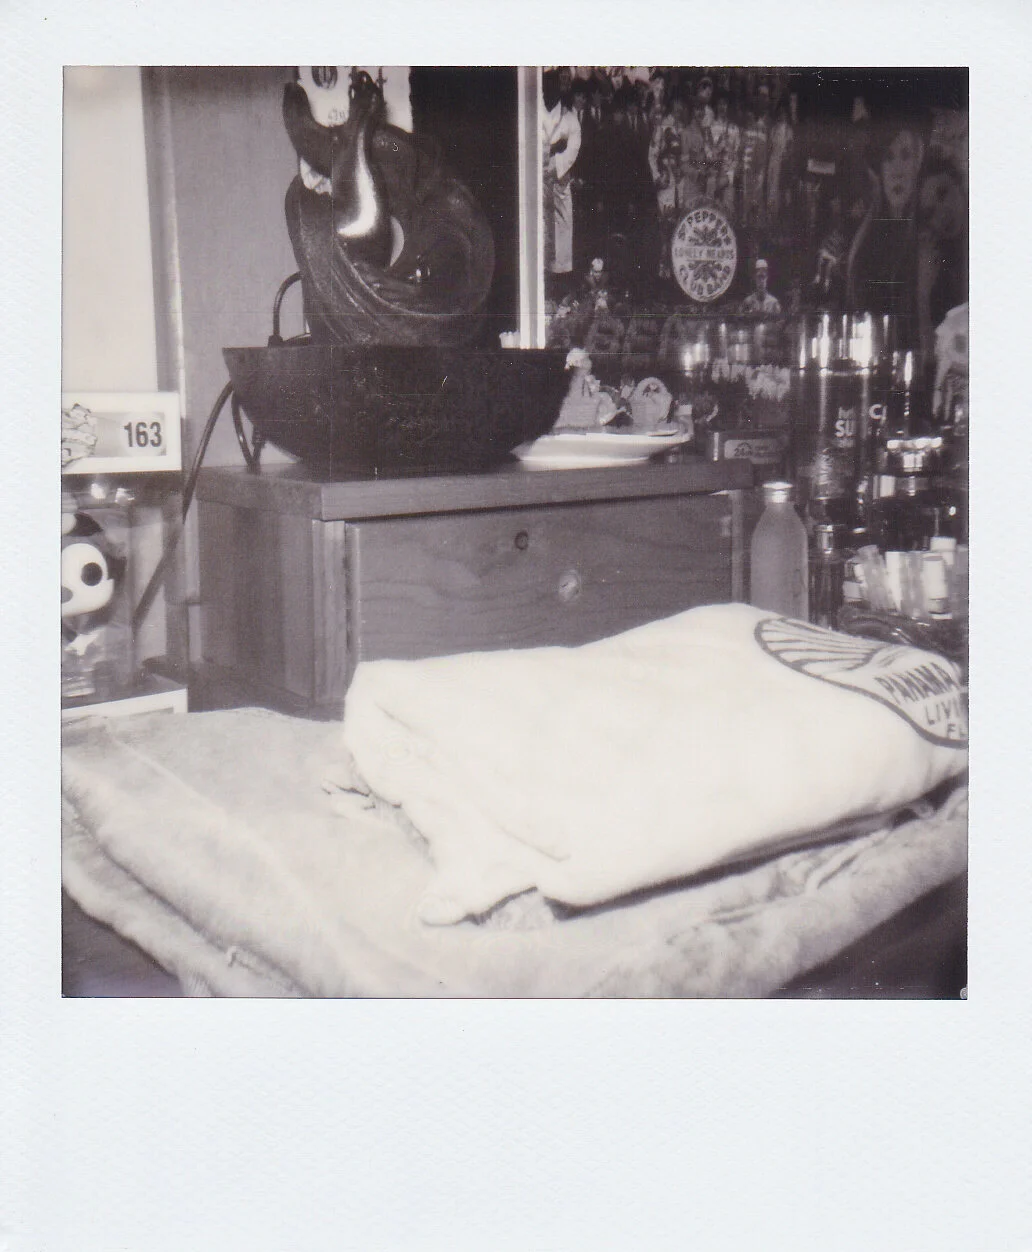
Self-Isolation, Day 50: Chapter's End

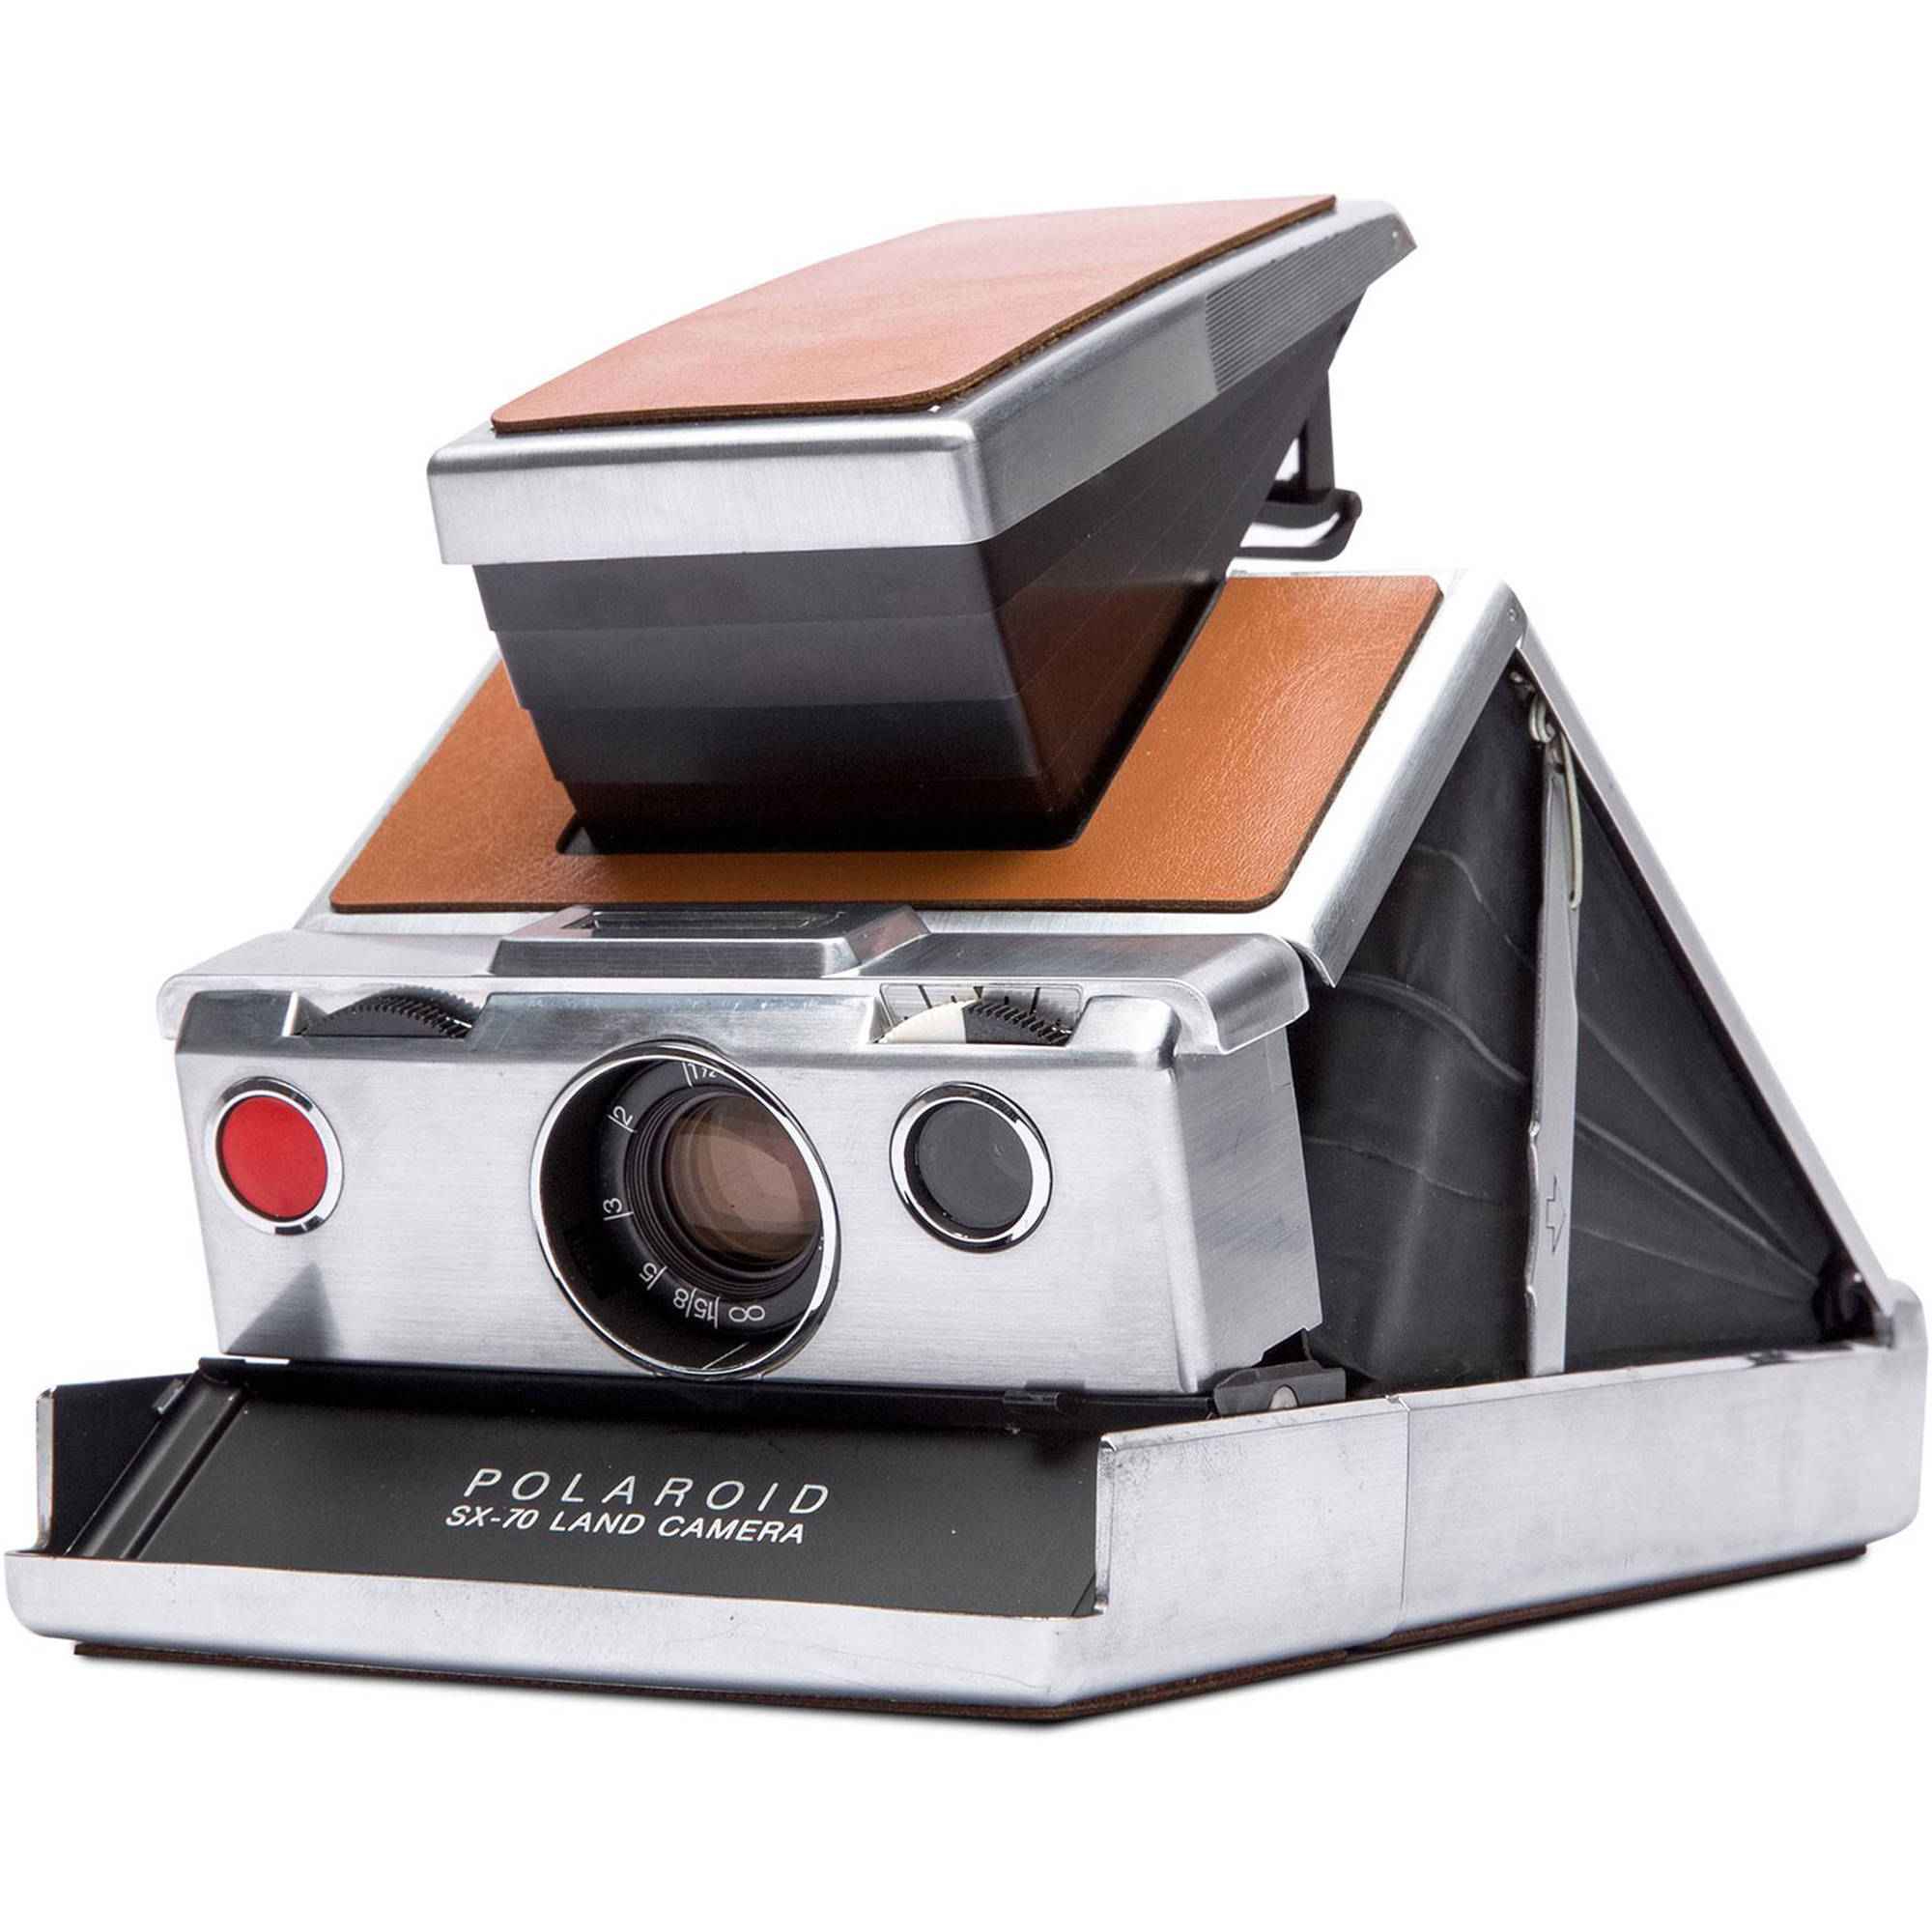


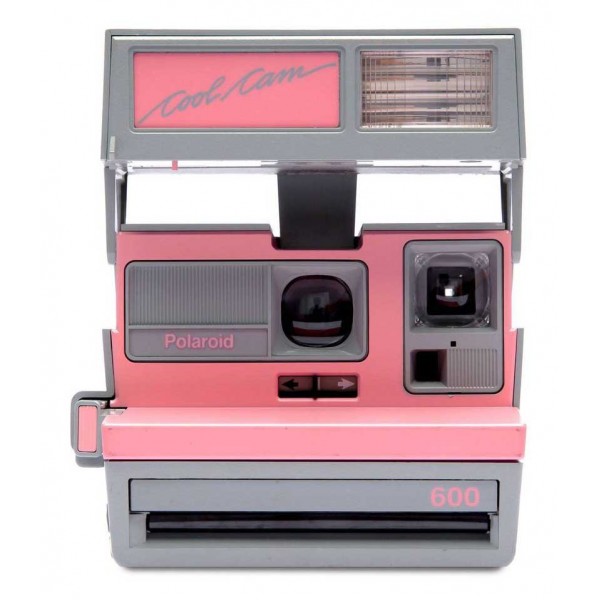

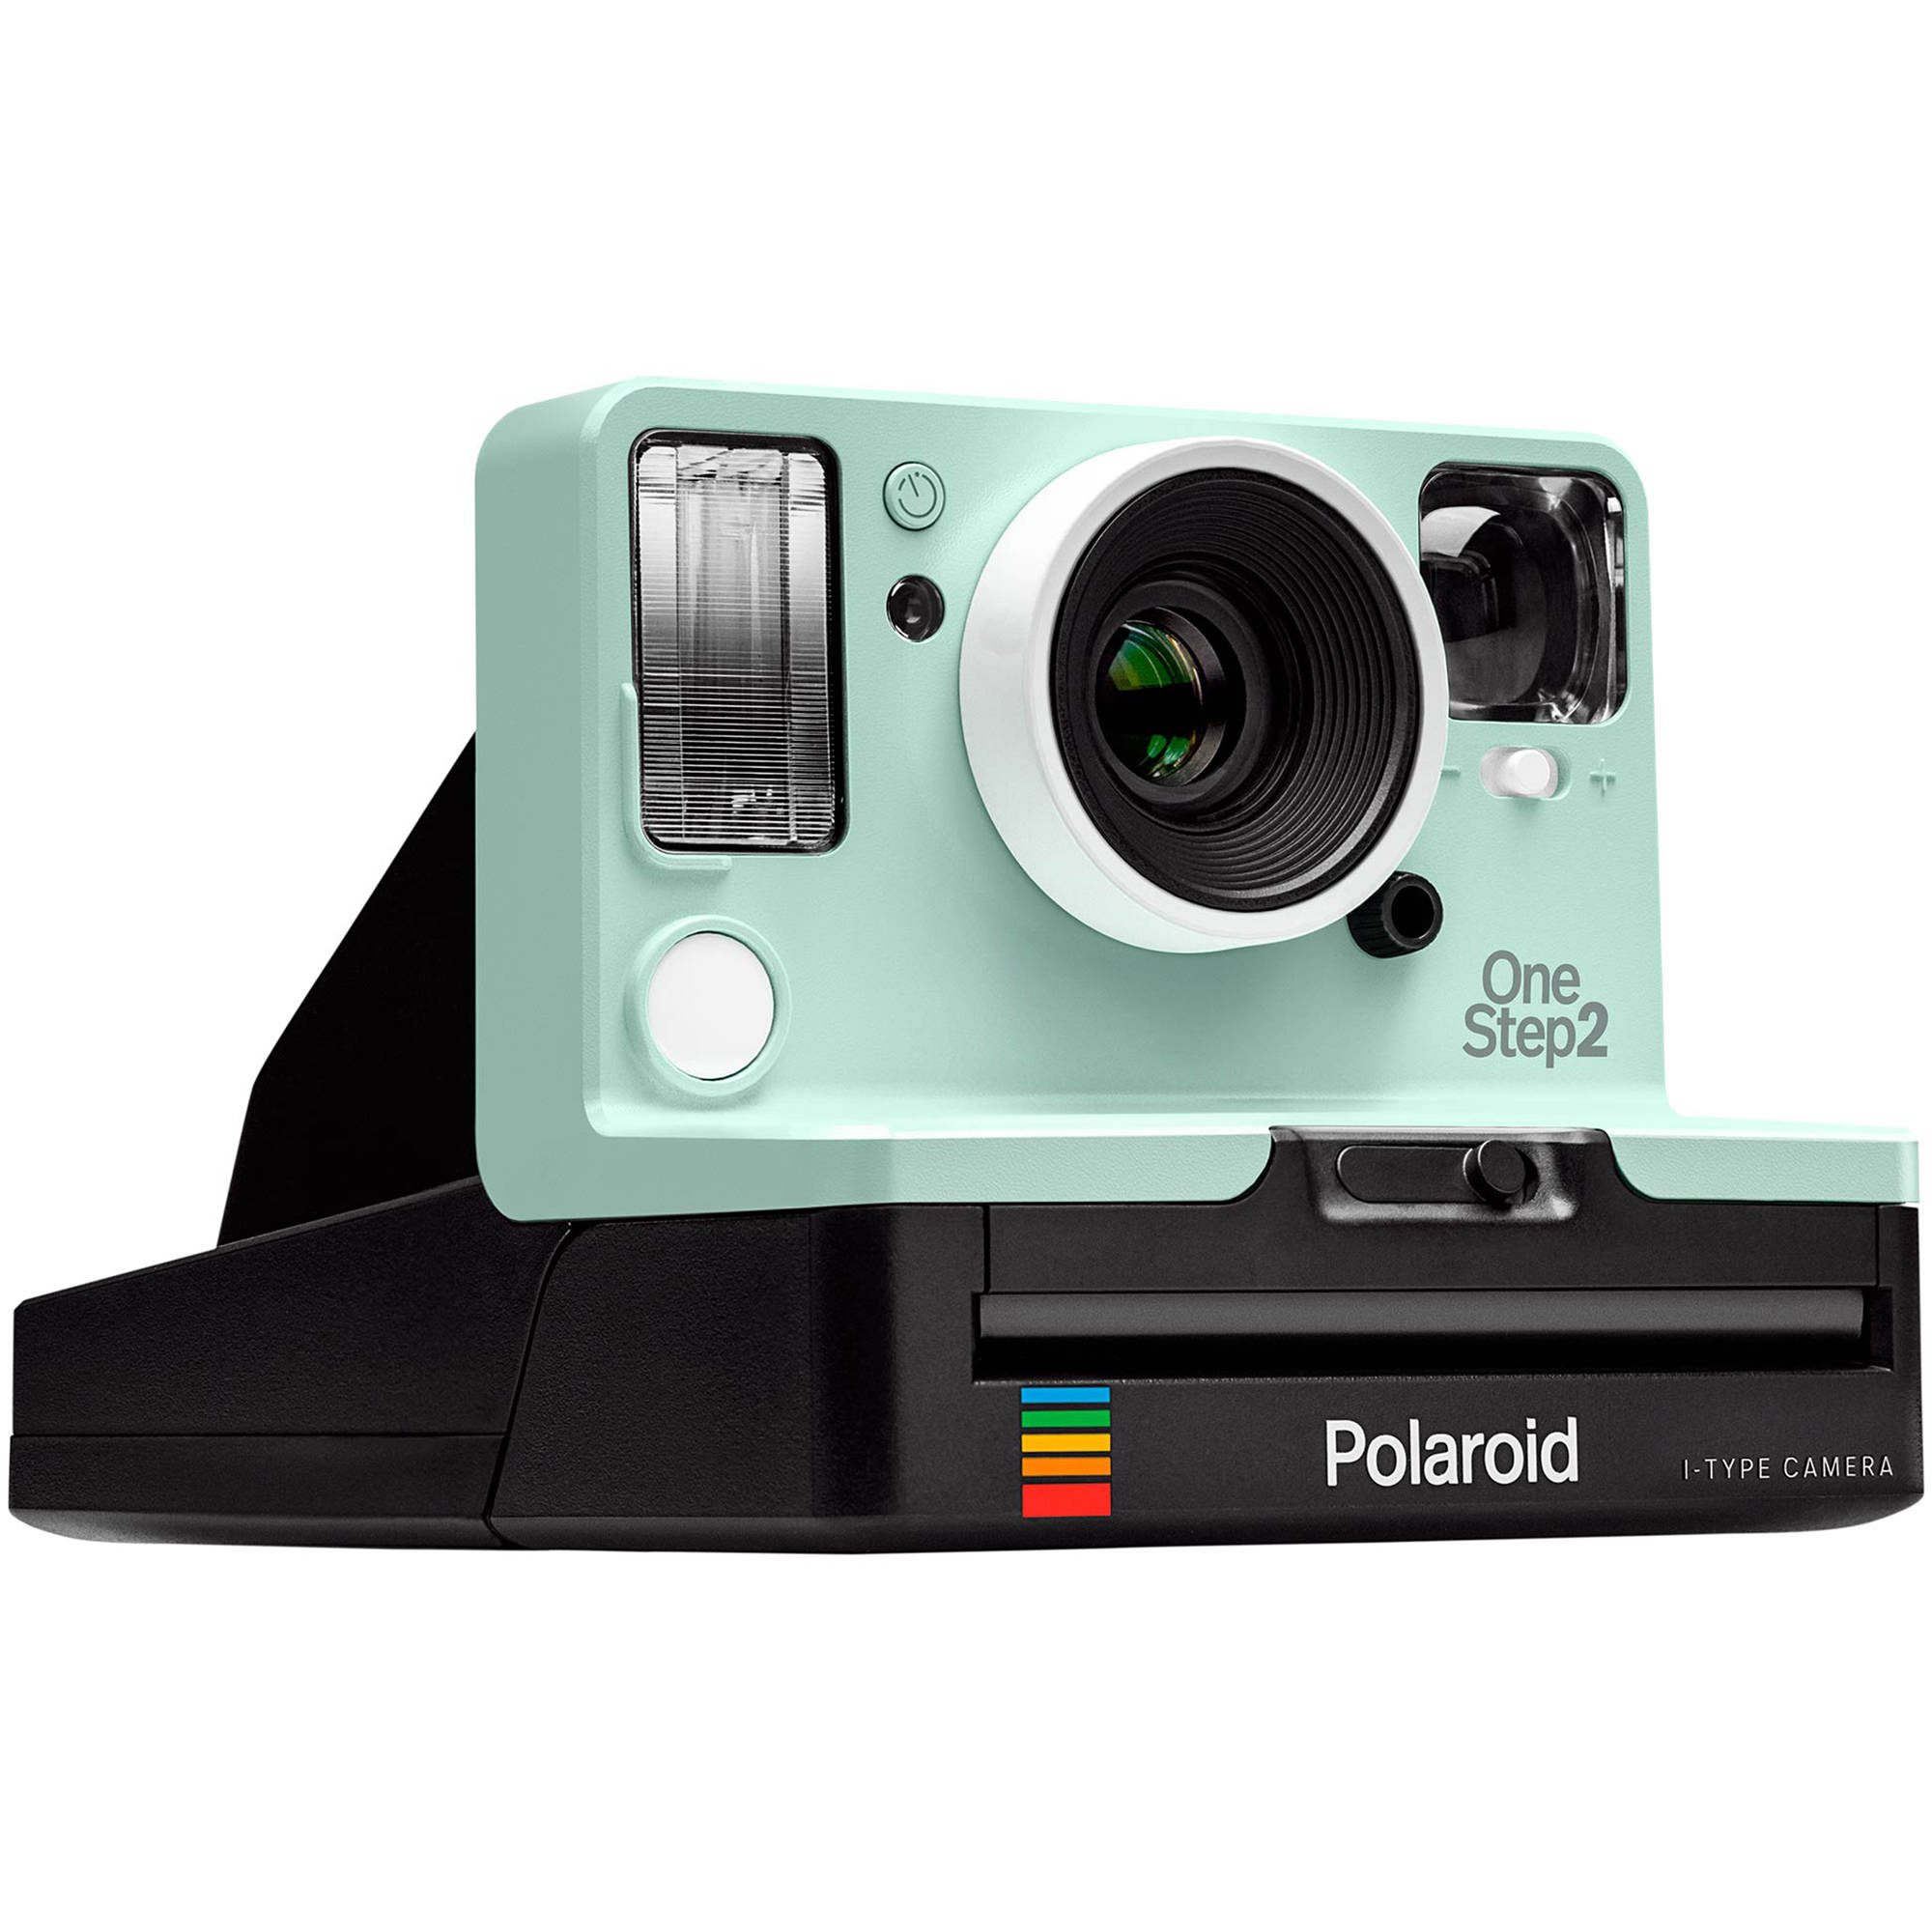


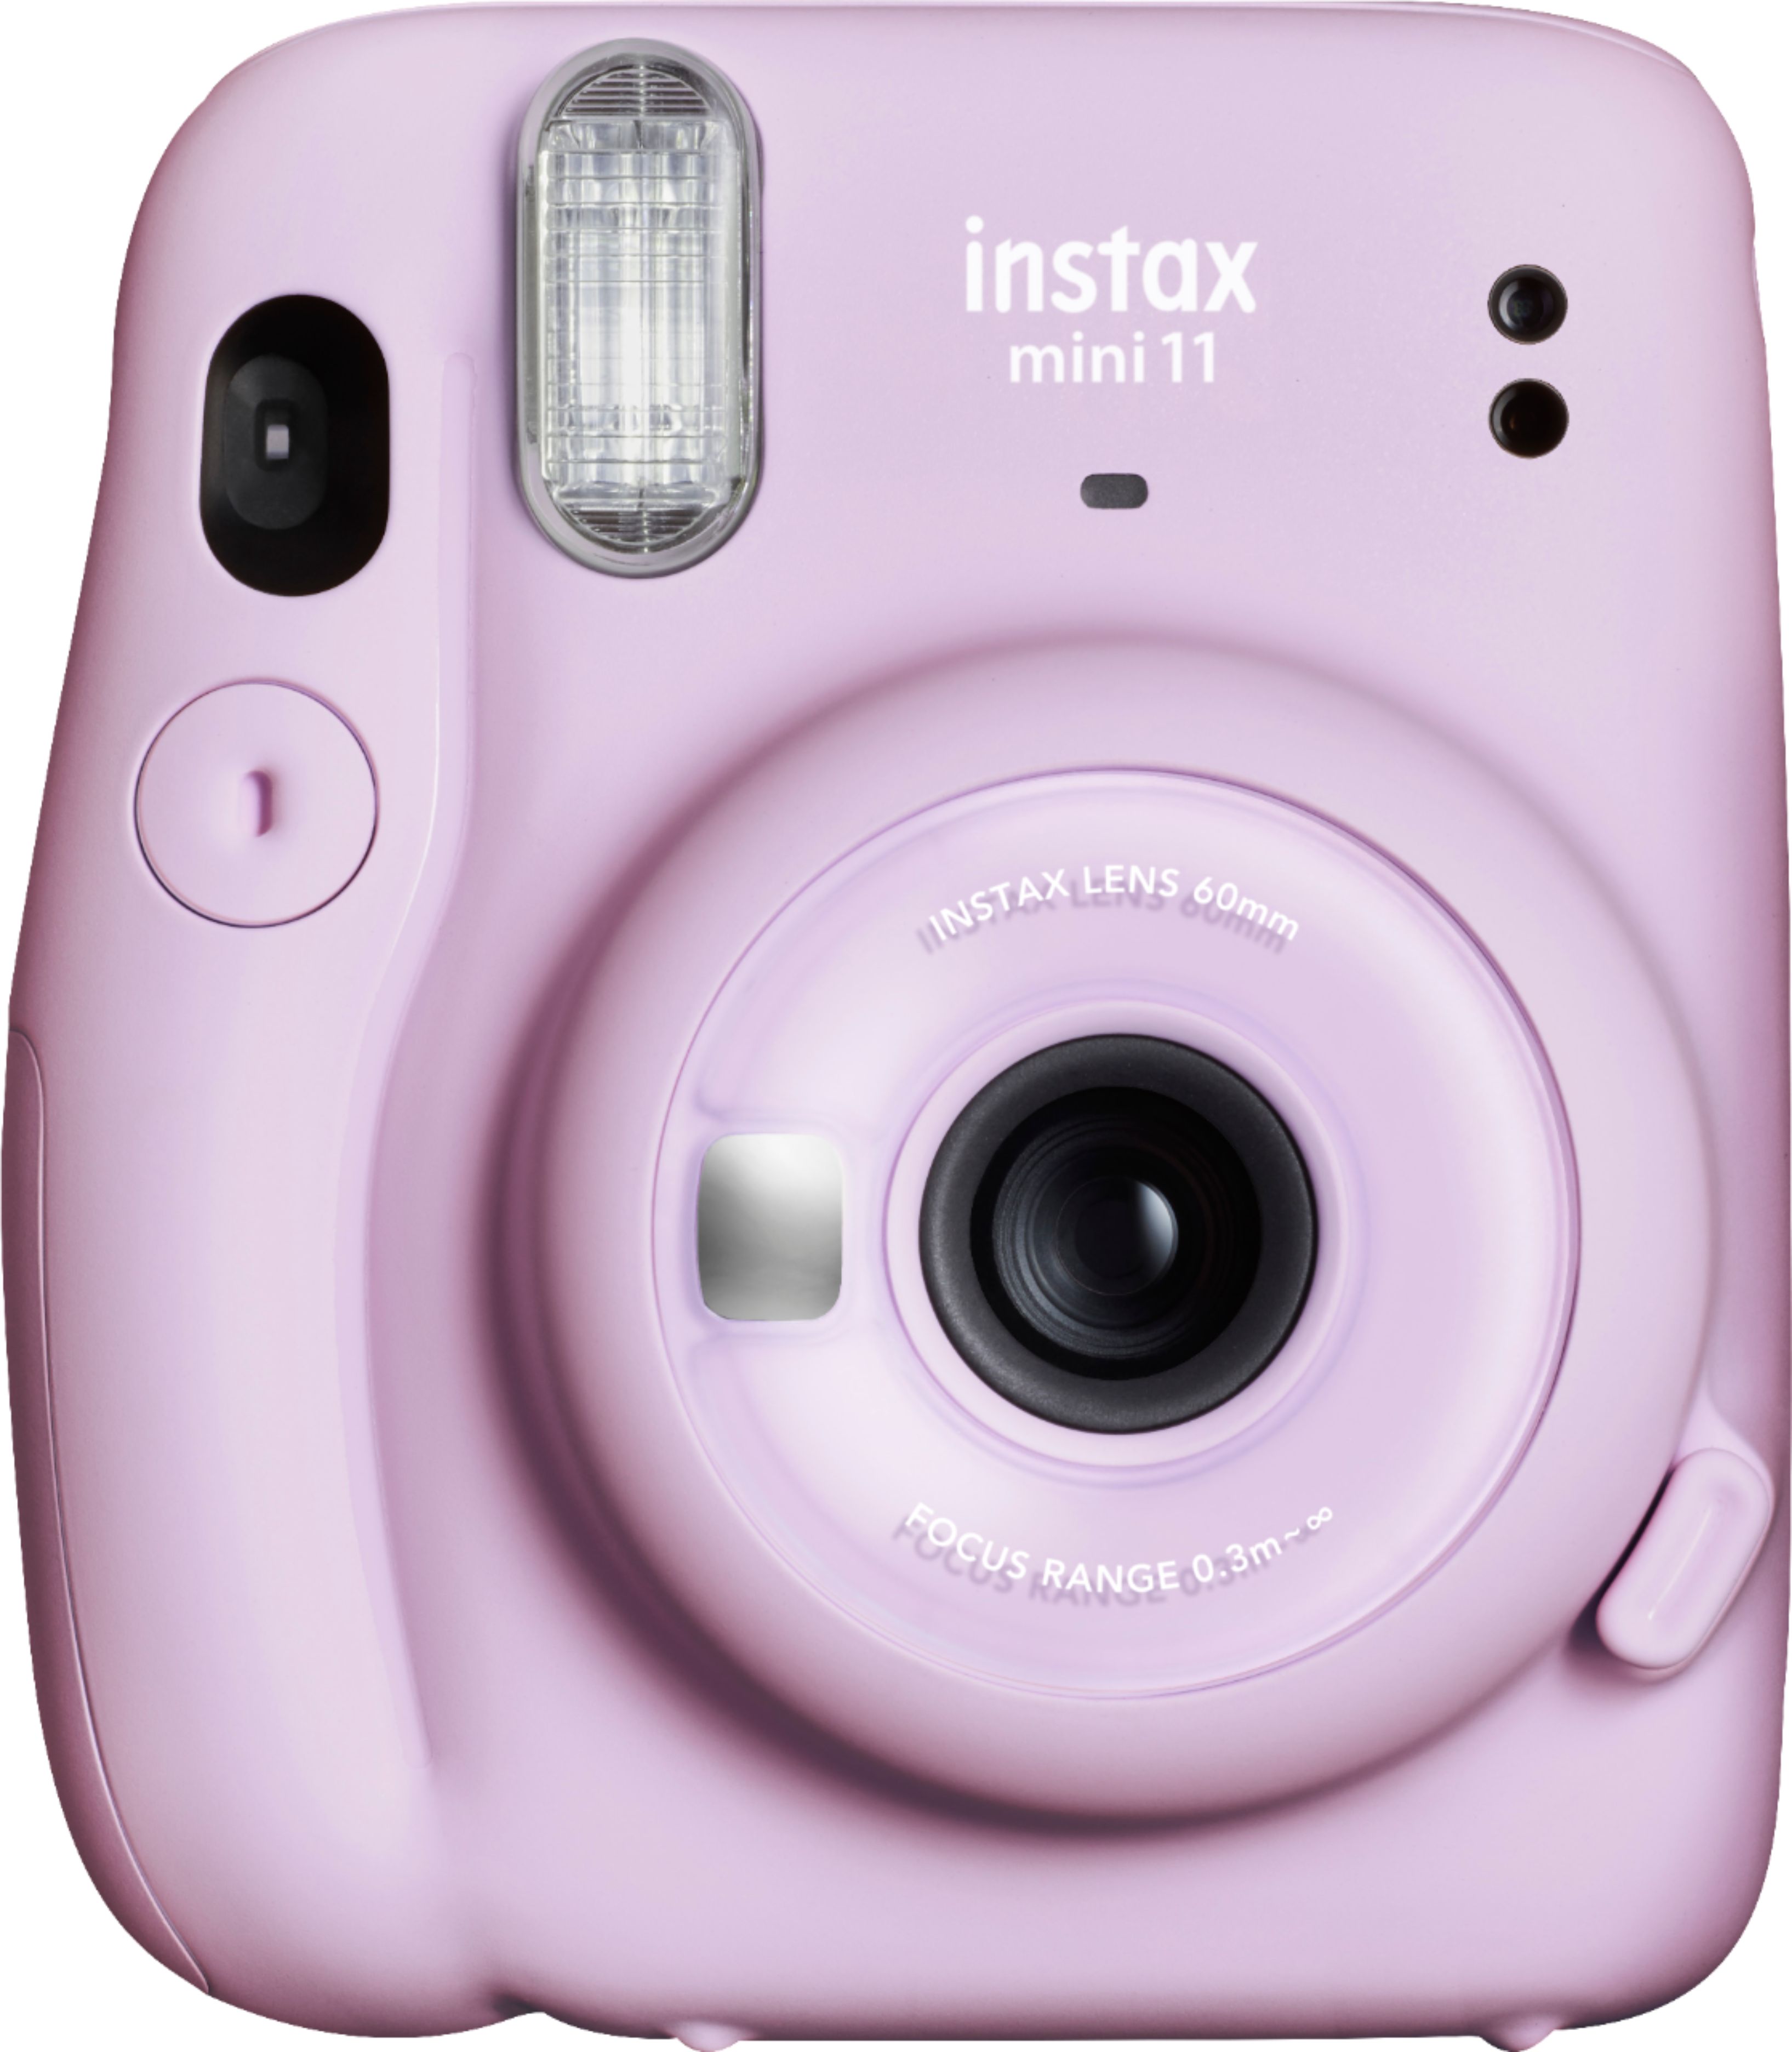

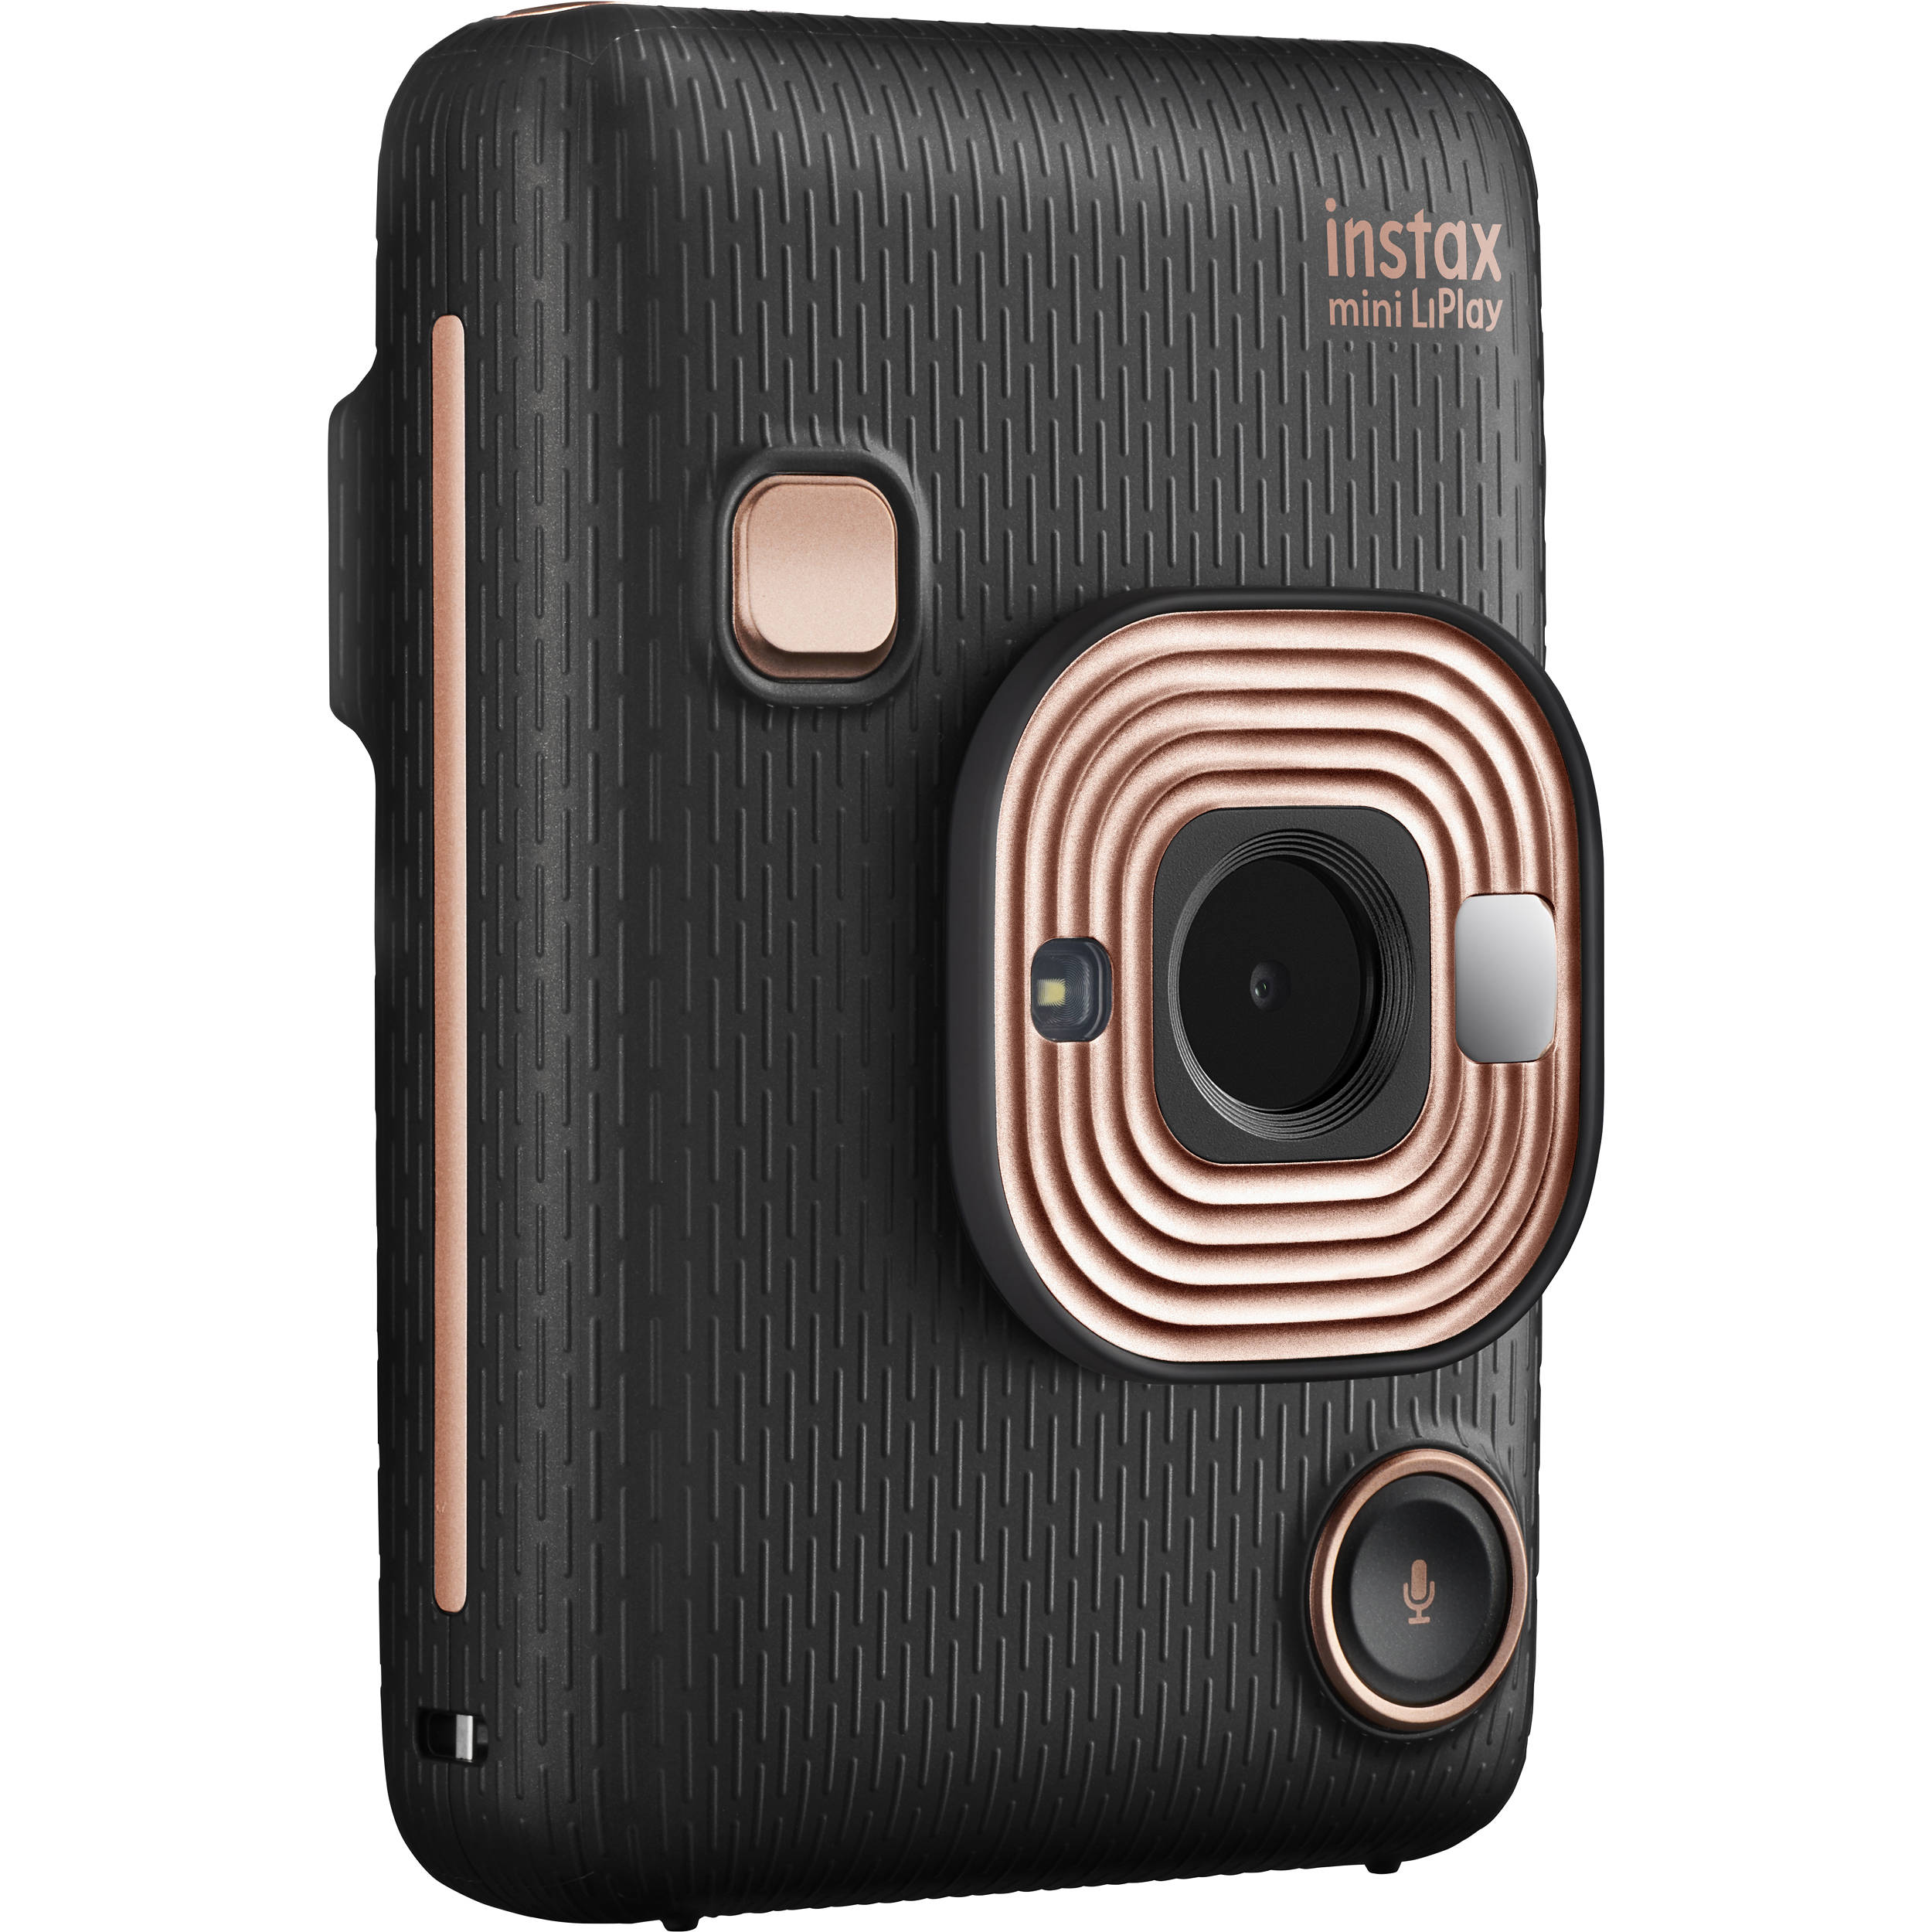

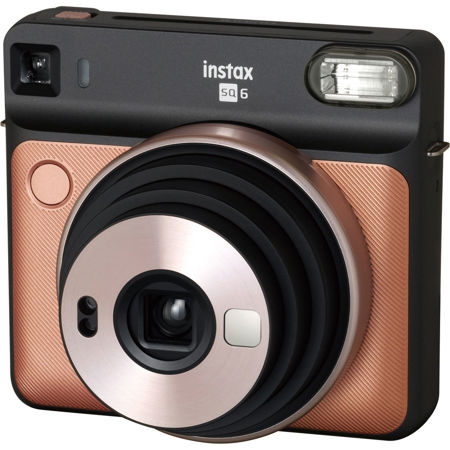
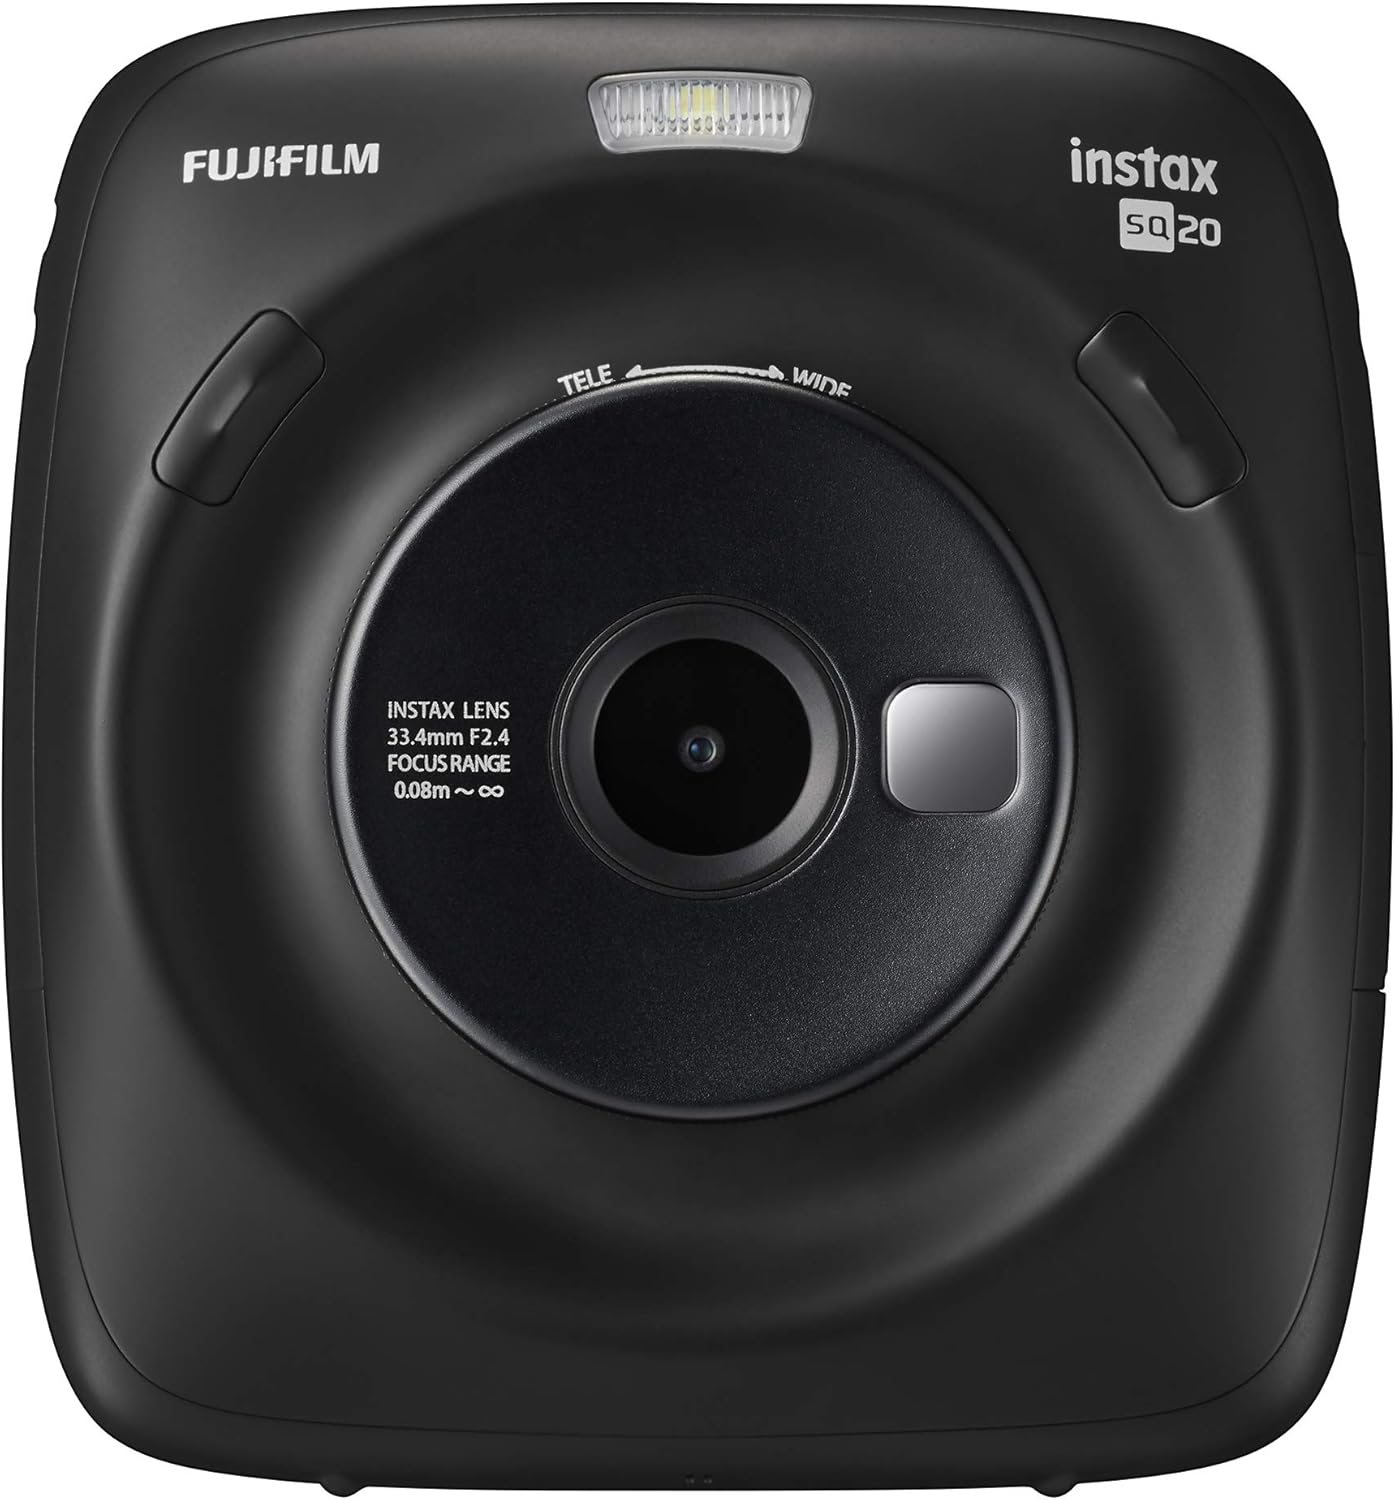
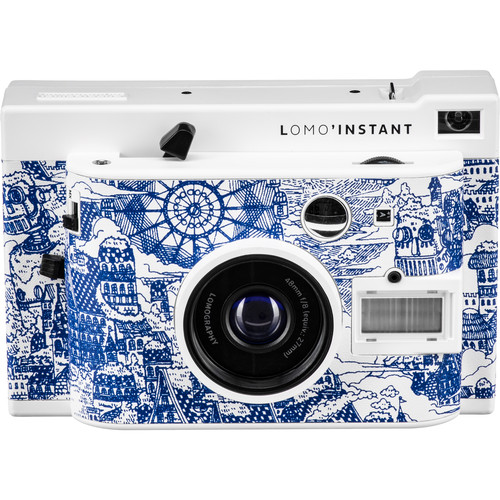
Self-Isolation, Day 50: Chapter's End
As many of you are likely aware, Alabama has chosen to partially reopen the state, and part of that reopening includes retailers such as the one I work for. I am not going to comment on how I feel about this decision, but I will admit to being extremely anxious about returning to work — especially when we begin opening our shop doors to the public on Saturday. Tomorrow, I return to my workplace to get things set back up and ready for opening, and that means I can no longer call this series “Self-Isolation.”
I will make a wrap-up post for this series in the coming days, but what I can tell you now is that I have so enjoyed making all of these photographs of my daily life, both for all of you and for myself. While this marks the end of me being able to call these pictures “self-isolation photographs,” that does not mean that I will not continue to take photos of my everyday life and share them with you all, just as I have been doing since I took up photography five years ago. I have not yet settled on a name for a new photo series, nor have I determined whether I will continue to share them as daily blog posts, but I promise you, the Polaroids will not stop coming any time soon. I have a few exciting things coming up and ideas floating around in my head, and though I’m anxious about jumping into life’s “new normal,” I am hoping for the best.
Thank you so much to everyone who has supported this series — I hope that, wherever you are and whatever you are doing right now, whether it’s continuing to self-isolate, returning to work due to your home state reopening, or continuing to work because you are an essential employee, you and yours are safe and well.
Thank you again for reading and sticking around, and I’ll talk to you all again soon.
— Kelsey